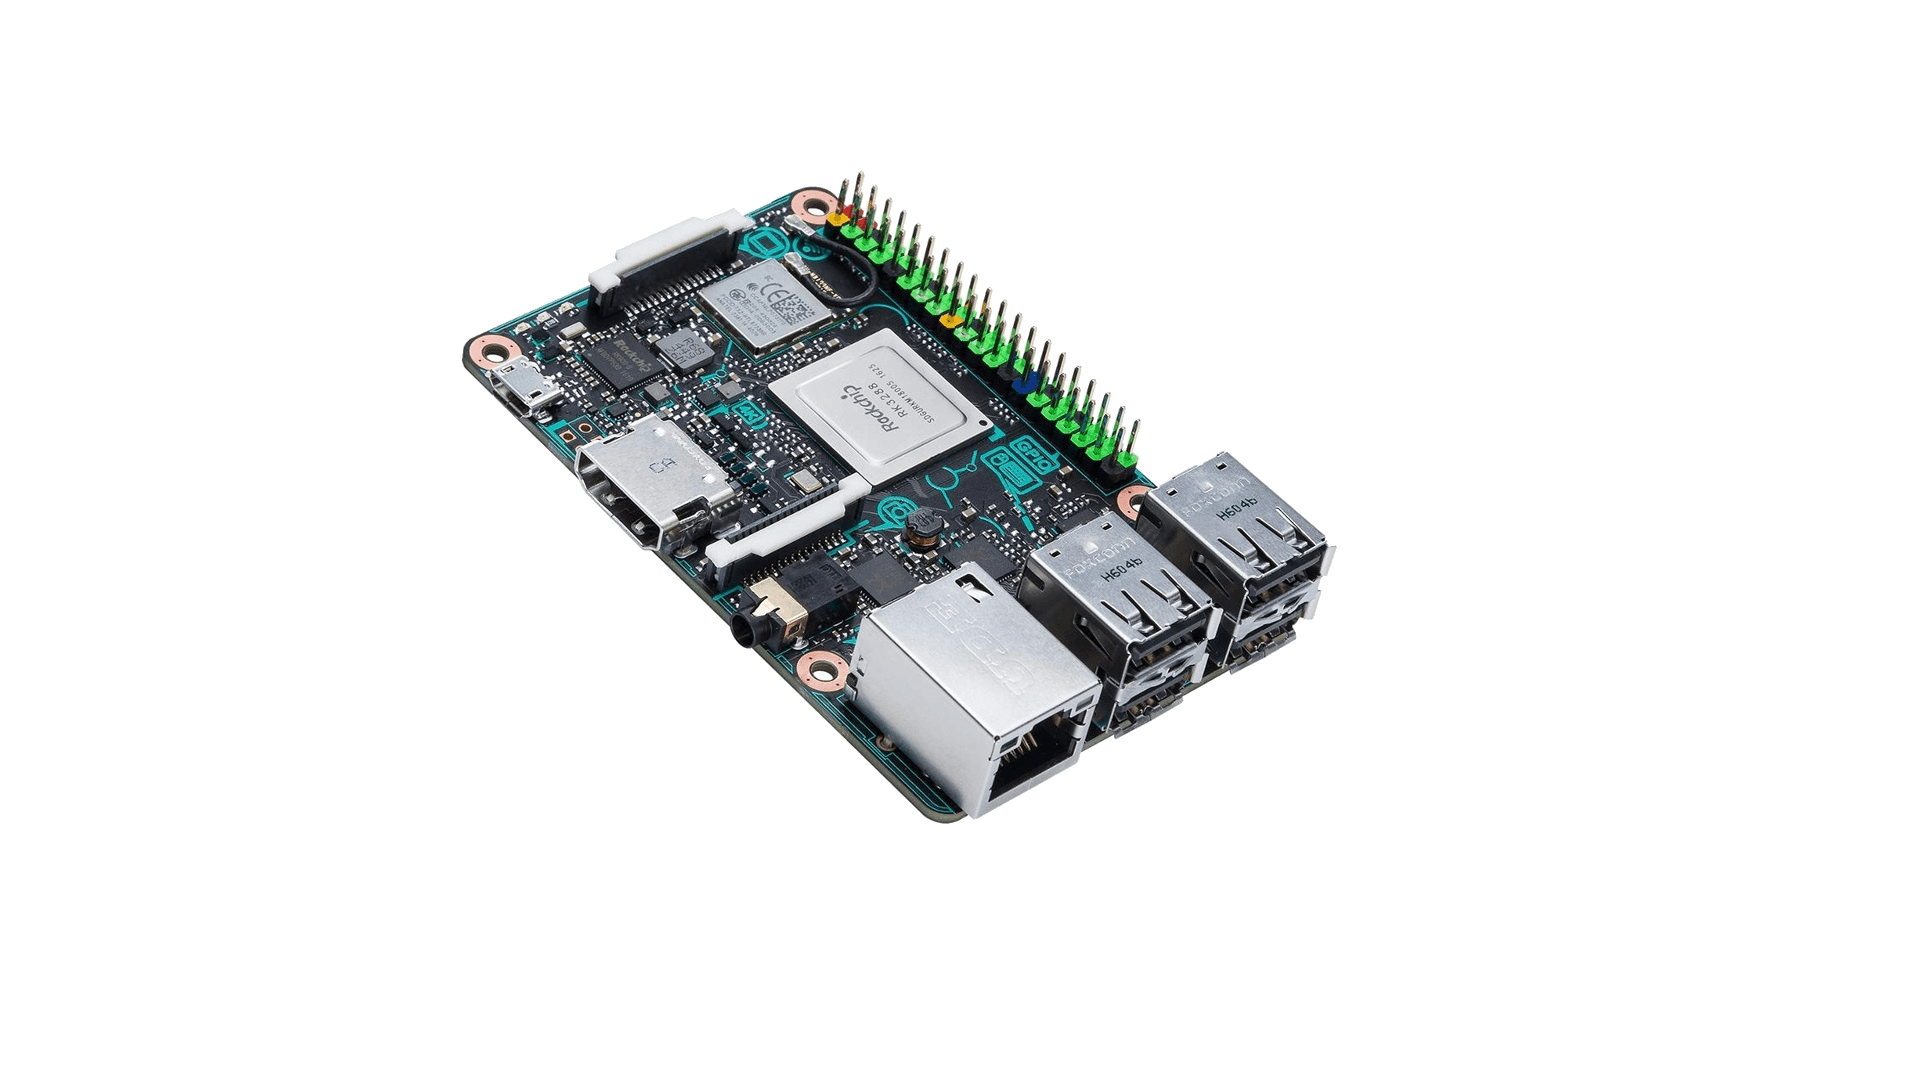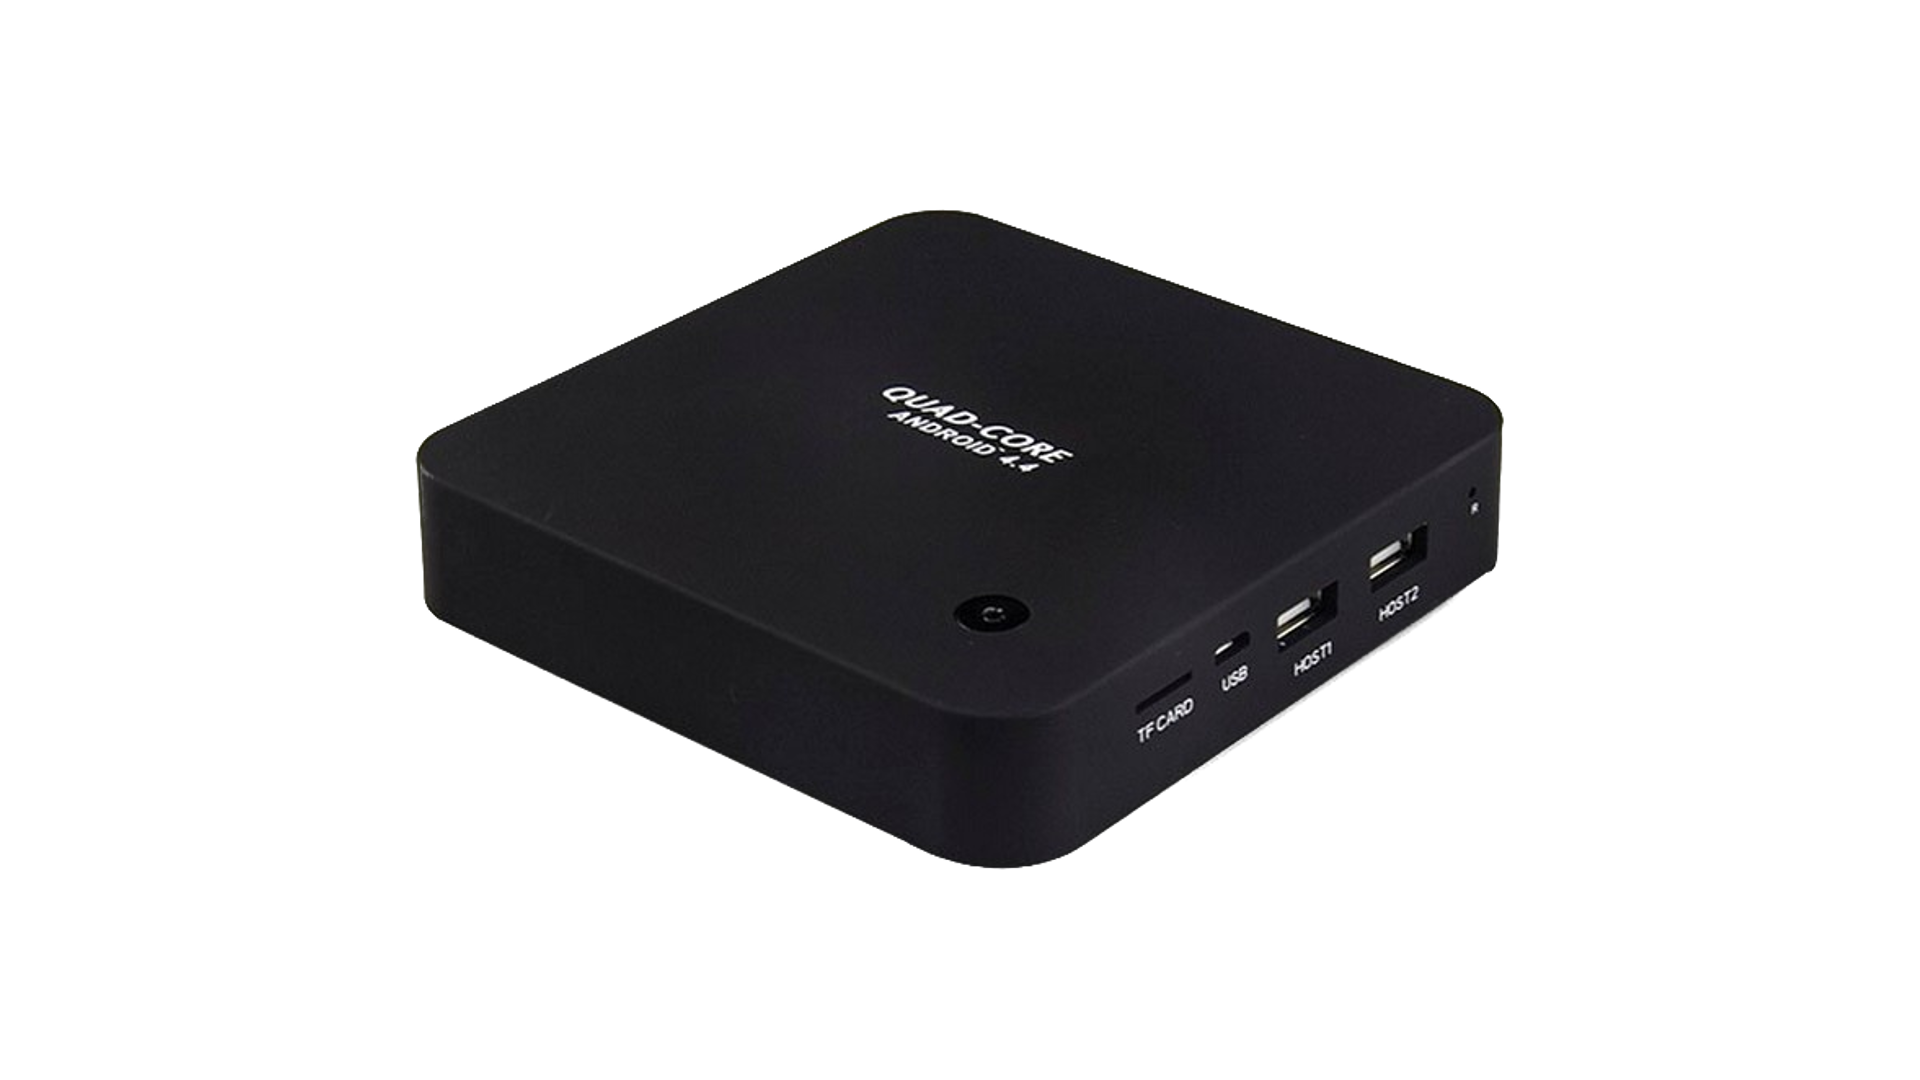
Supported TV Box variants: Chiptrip Q8, Vsmart Q8, ENY 3288 Q8, etc…
Known signatures on the electrical boards are xt-q8l-v10 and eny-q8p-v10
Installation on eMMC:
- Download your preferred Armbian image a copy of the Multitool;
- Burn the Multitool on an SD card; once done, place the Armbian image in images folder of the SD card FAT partition;
- Plug the SD card in the TV box and plug in the power cord. After some seconds the blue led starts blinking and the Multitool appears;
- OPTIONAL: you can do a backup of the existing firmware with “Backup flash” menu option;
- Choose “Burn image to flash” from the menu, then select the destination device (usually mmcblk2) and the image to burn;
- Wait for the process to complete, then choose “Shutdown” from main menu;
- Unplug the sd card, then push the power button for 1 second (the led will turn blue)
- After 10 seconds HDMI will turn on and you will get logging messages;
- On first boot you will be asked for entering a password for root user of your choice and the name and password for a regular user
- Run armbian-config to configure timezone, locales and other personal options
- Congratulations, Armbian is now installed!
Boot from SD Card/USB stick (with Armbian already installed in eMMC, empty eMMC or no eMMC):
- Download your preferred Armbian image;
- Burn the image on your SD card/USB stick;
- Plug the SD card/USB stick in the device;
- Push the power button for 1 second (the led will turn blue);
- After 10 seconds HDMI will turn on and you will get logging messages;
- On first boot you will be asked for entering a password for root user of your choice and the name and password for a regular user
- Run armbian-config to configure timezone, locales and other personal options
- Congratulations, Armbian is now installed!
Boot from SD Card/USB stick (with original firmware or other firmware):
In case your box has the original firmware installed, use the Multitool to erase the internal flash.
Don’t worry, you will not brick your box: once the eMMC is emptied, the box will automatically boot from SD Card. This is called Maskrom mode and is common to all Rockchip devices.
After erasing the internal eMMC, just follow the “Boot from SD Card” procedure above and then you are fine.
EXPERTS ONLY: erasing flash with USB Cable and rkdeveloptool
This guide describes how to erase the internal eMMC memory to force the box boot from sdcard. This is an experts guide and is mostly here for reference and not for end-user guidance. If you are an end-user and don’t bother with technicalities, the Multitool is a much friendler way to accomplish the task.
The tool used here is rkdeveloptool, which is opensource and is available cloning or downloading the official rockchip-linux rkbin github repository.
- Rockusb mode: getting into rockusb mode is essential to do anything else
- plug the power cord inside the device
- push the Reset button (it’s at the back of the case, use a paper clip to reach the button) and keep it pushed while plugging the USB cable into the OTG port
- check if the device is connected, use lsusb:
# lsusb
Bus 001 Device 005: ID 058f:6377 Alcor Micro Corp. AU6375 4-LUN card reader
Bus 001 Device 003: ID 0cf3:9271 Atheros Communications, Inc. AR9271 802.11n
Bus 001 Device 029: ID 2207:320a
Bus 001 Device 001: ID 1d6b:0002 Linux Foundation 2.0 root hub
Bus 002 Device 004: ID 045e:0745 Microsoft Corp. Nano Transceiver v1.0 for Bluetooth
Bus 002 Device 005: ID 067b:2303 Prolific Technology, Inc. PL2303 Serial Port
Bus 002 Device 002: ID 046d:c312 Logitech, Inc. DeLuxe 250 Keyboard
Bus 002 Device 001: ID 1d6b:0001 Linux Foundation 1.1 root hub
you should be able to see a device with ID 2207:320a. If so, you are in rockusb mode and can jump to Backup, Restore or erase eMMC paragraphs below
- Erase the eMMC:To completely erase the eMMC card just run:
# ./rkdeveloptool ef
it will take around a minute, then the flash memory will be completely erased and your box will boot from the sdcard.
- Backup:First we determine the size of the eMMC, and then we do the backup – it will take less than five minutes and will create backup.data file:
# ./rkdeveloptool rfi
Flash Info:
	Manufacturer: SAMSUNG, value=00
	Flash Size: 7393 MB
	Block Size: 512 KB
	Page Size: 2 KB
	ECC Bits: 0
	Access Time: 40
	Flash CS: Flash

# ./rkdeveloptool rl 0x0 $((7393 * 2048)) backup.data
- Restore the original firmware:
First we have to restore the original bootloader, then restore the original firmware.
Running these commands will accomplish both the jobs:./rkdeveloptool db ../rk32/rk3288_ubootloader_v1.01.06.bin Downloading bootloader succeeded. ./rkdeveloptool ul ../rk32/rk3288_ubootloader_v1.01.06.bin Upgrading loader succeeded. ./rkdeveloptool wl 0x0 backup.data Write LBA from file (100%)
For further details or support check the community forum thread Armbian for RK3288 TV Box boards (Q8)