


SEMSON GALAXY S3
Screen on this phone was demolished. We have change the whole broken screen and replace it with new one.
Minimal Debian based Linux with powerful configurator and software installer.

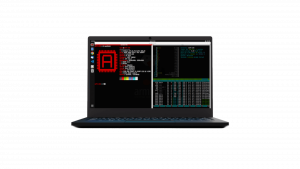
Elegant XFCE based desktop with Chromium and LibreOffice Writer.
Linux kernel and Debian userspace development kit. Cross-compilation with Vagrant, Docker, Virtualbox or native.
GitHub