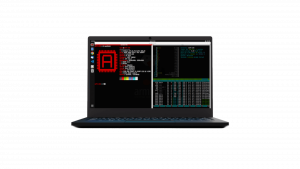
Armbian Weekly Highlights
Armbian continues to evolve with exciting updates, optimizations, and bug fixes across its ecosystem. Here are the highlights from the past week: Kernel Updates rk35xx-vendor: Updated to the 6.1 rkr4.1 SDK kernel, enhancing compatibility and features for rk35xx boards (commit by @amazingfate). Rockchip: Edge kernel upgraded to 6.12, bringing improved stability and performance (commit by …
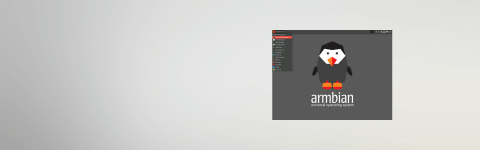
Armbian v24.11
Dear Armbian Community, We are thrilled to announce Armbian Release 24.11.1, packed with significant updates across our entire ecosystem! These updates are aimed at enhancing functionality, expanding hardware support, and refining the user experience for both developers and everyday SBC users. Let’s dive into the exciting new features! Core system updates Armbian Build Framework The …
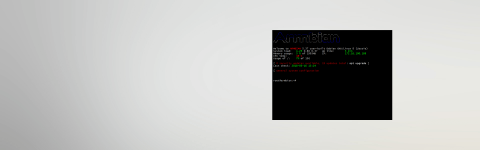
Armbian Weekly Highlights
Dear Armbians, here are the latest highlights Armbian Configuration Tool Enhancements New Label for Issue Tracking To simplify the bug-tracking process and improve prioritization, a new label called “not armbian-config” has been introduced. This label helps users identify and address issues that are unrelated to the Armbian configuration tool. Contributor: @igorpecovnik Commit: 0f24c12 Automatic Documentation …


SEMSON GALAXY S3
Screen on this phone was demolished. We have change the whole broken screen and replace it with new one.