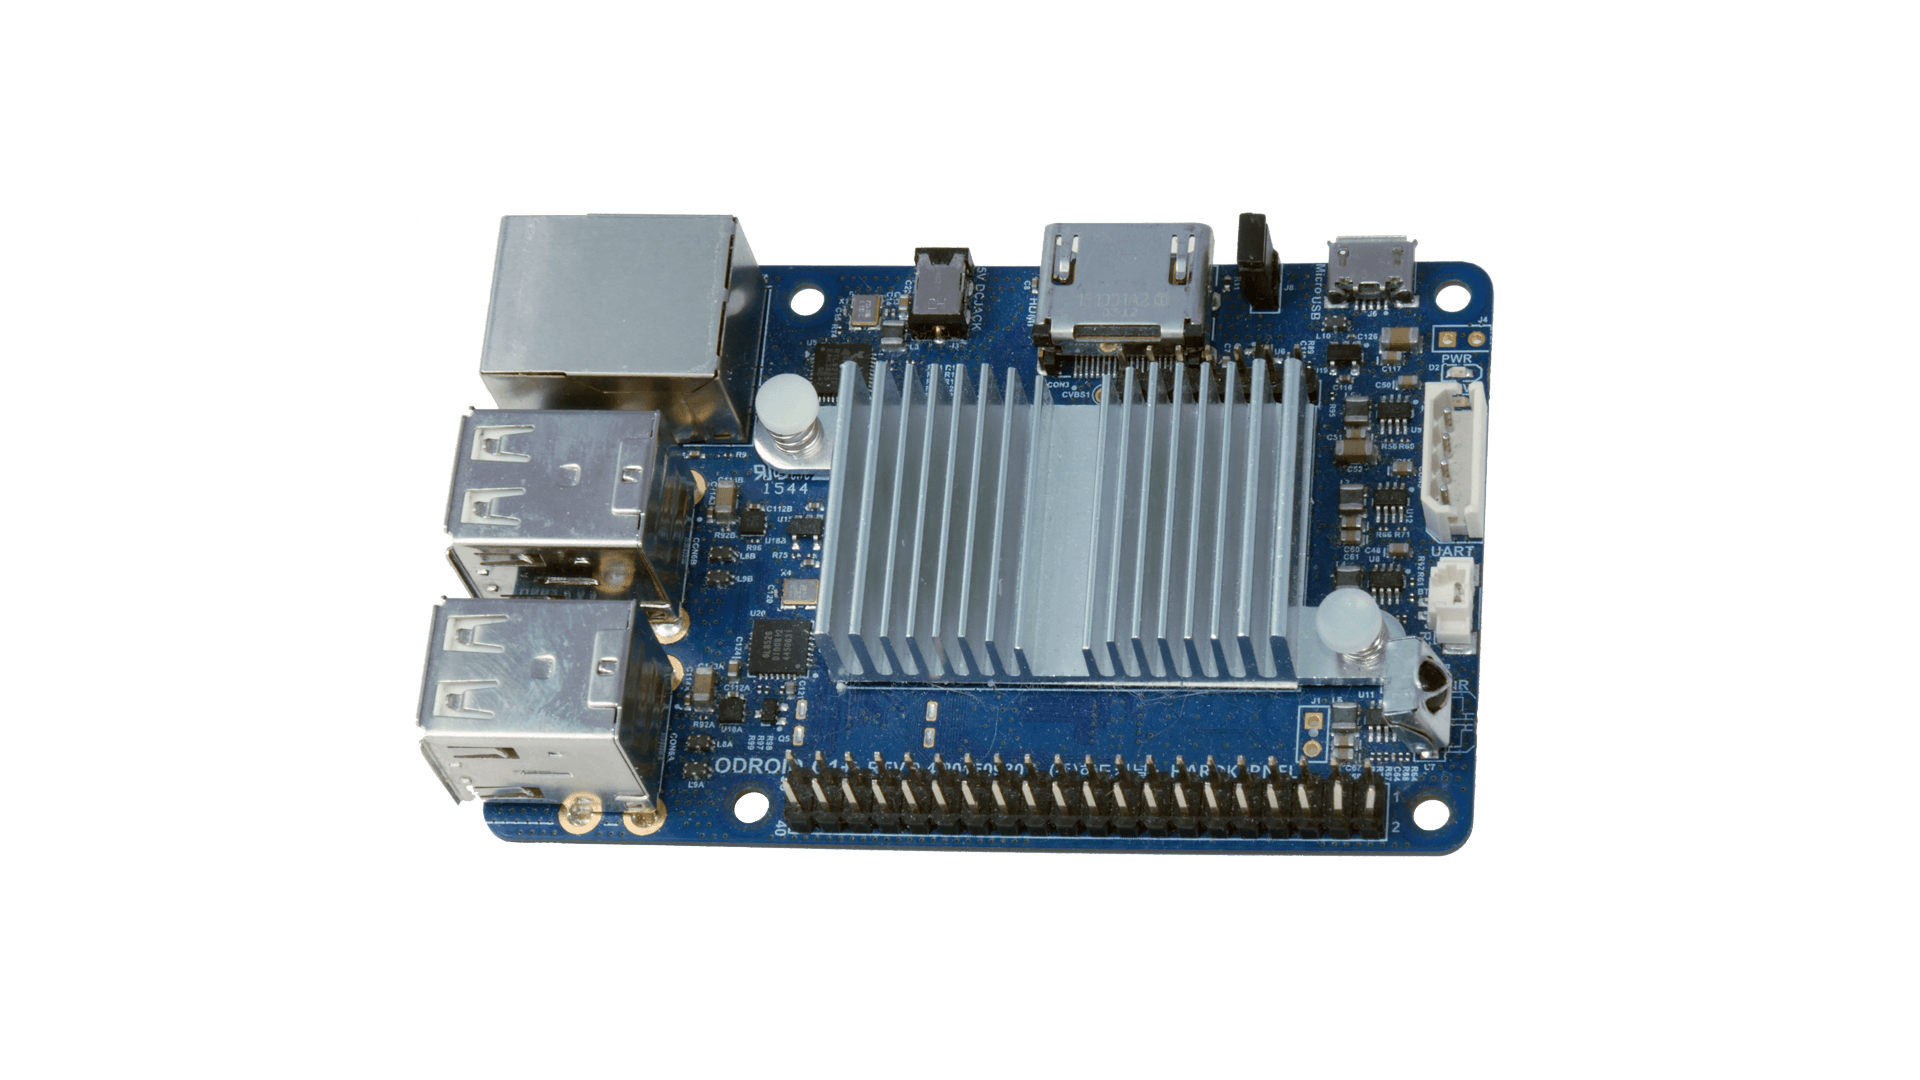


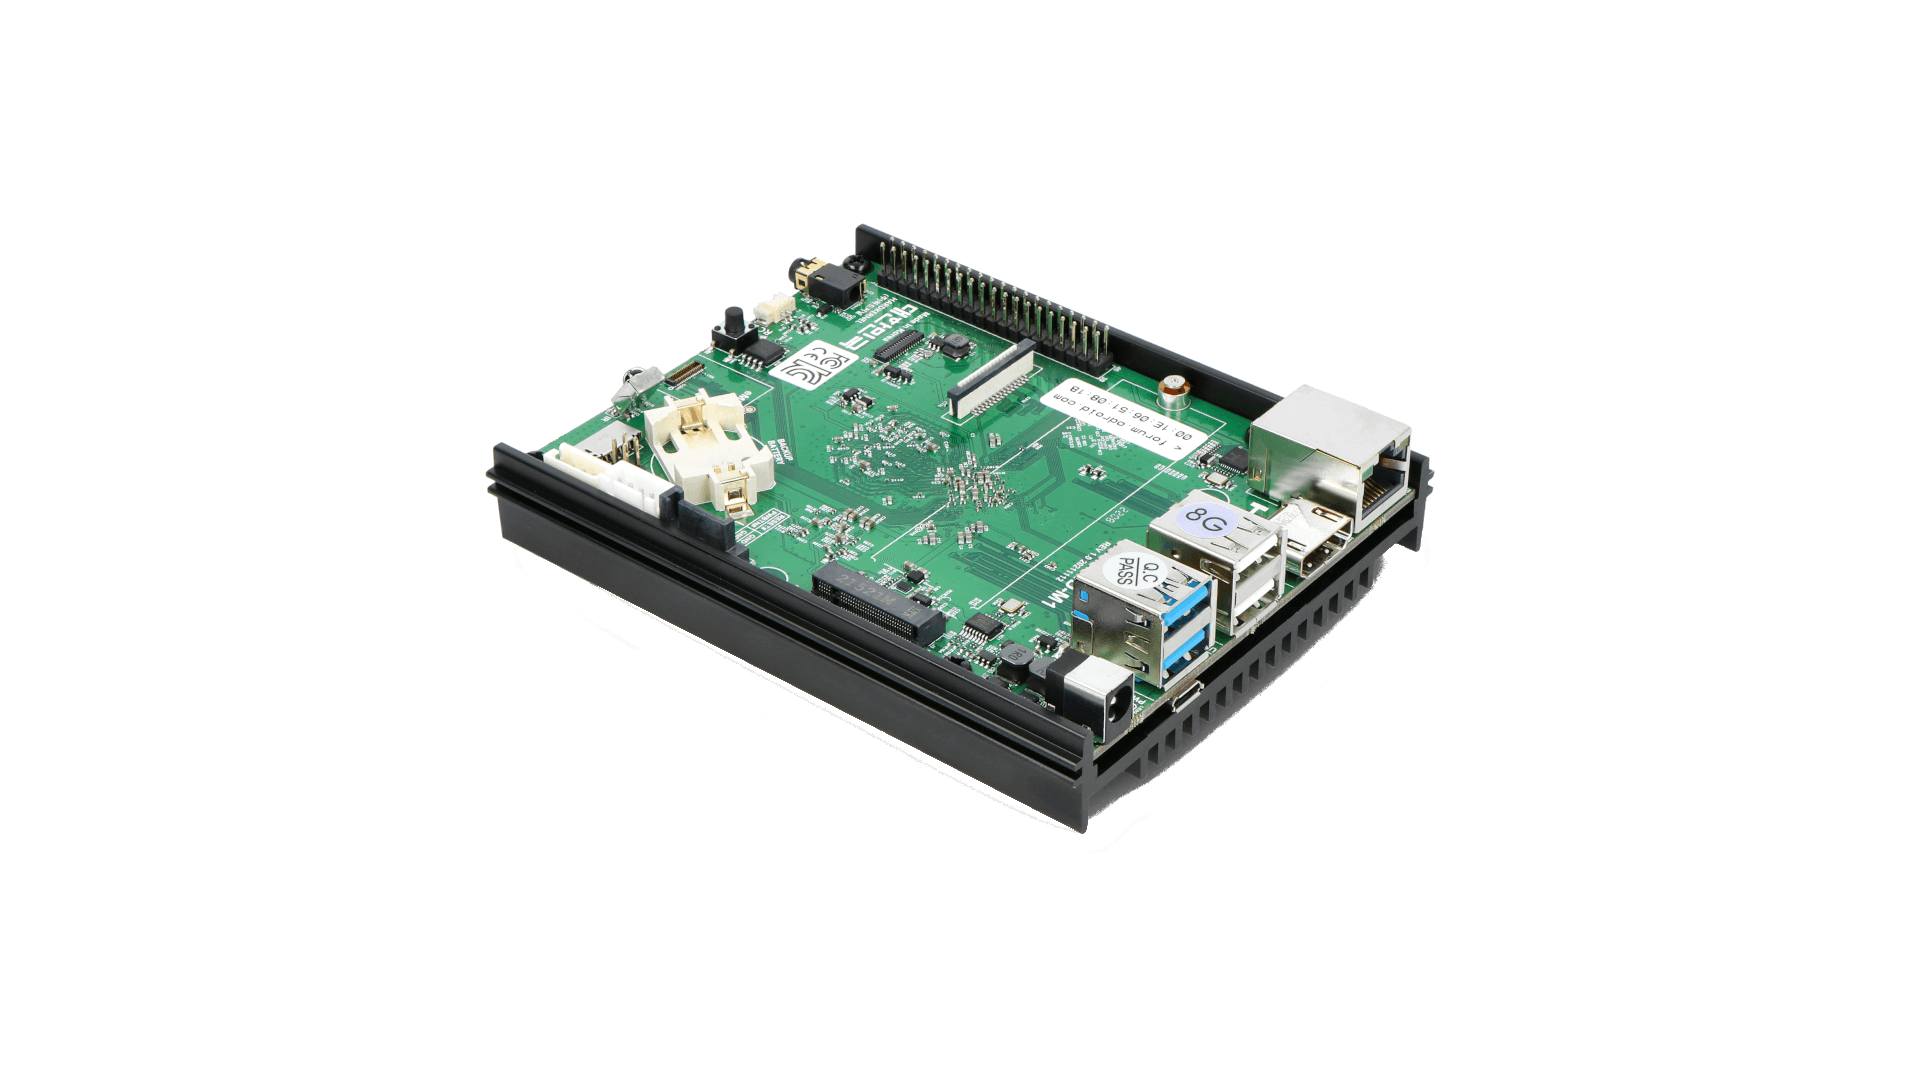
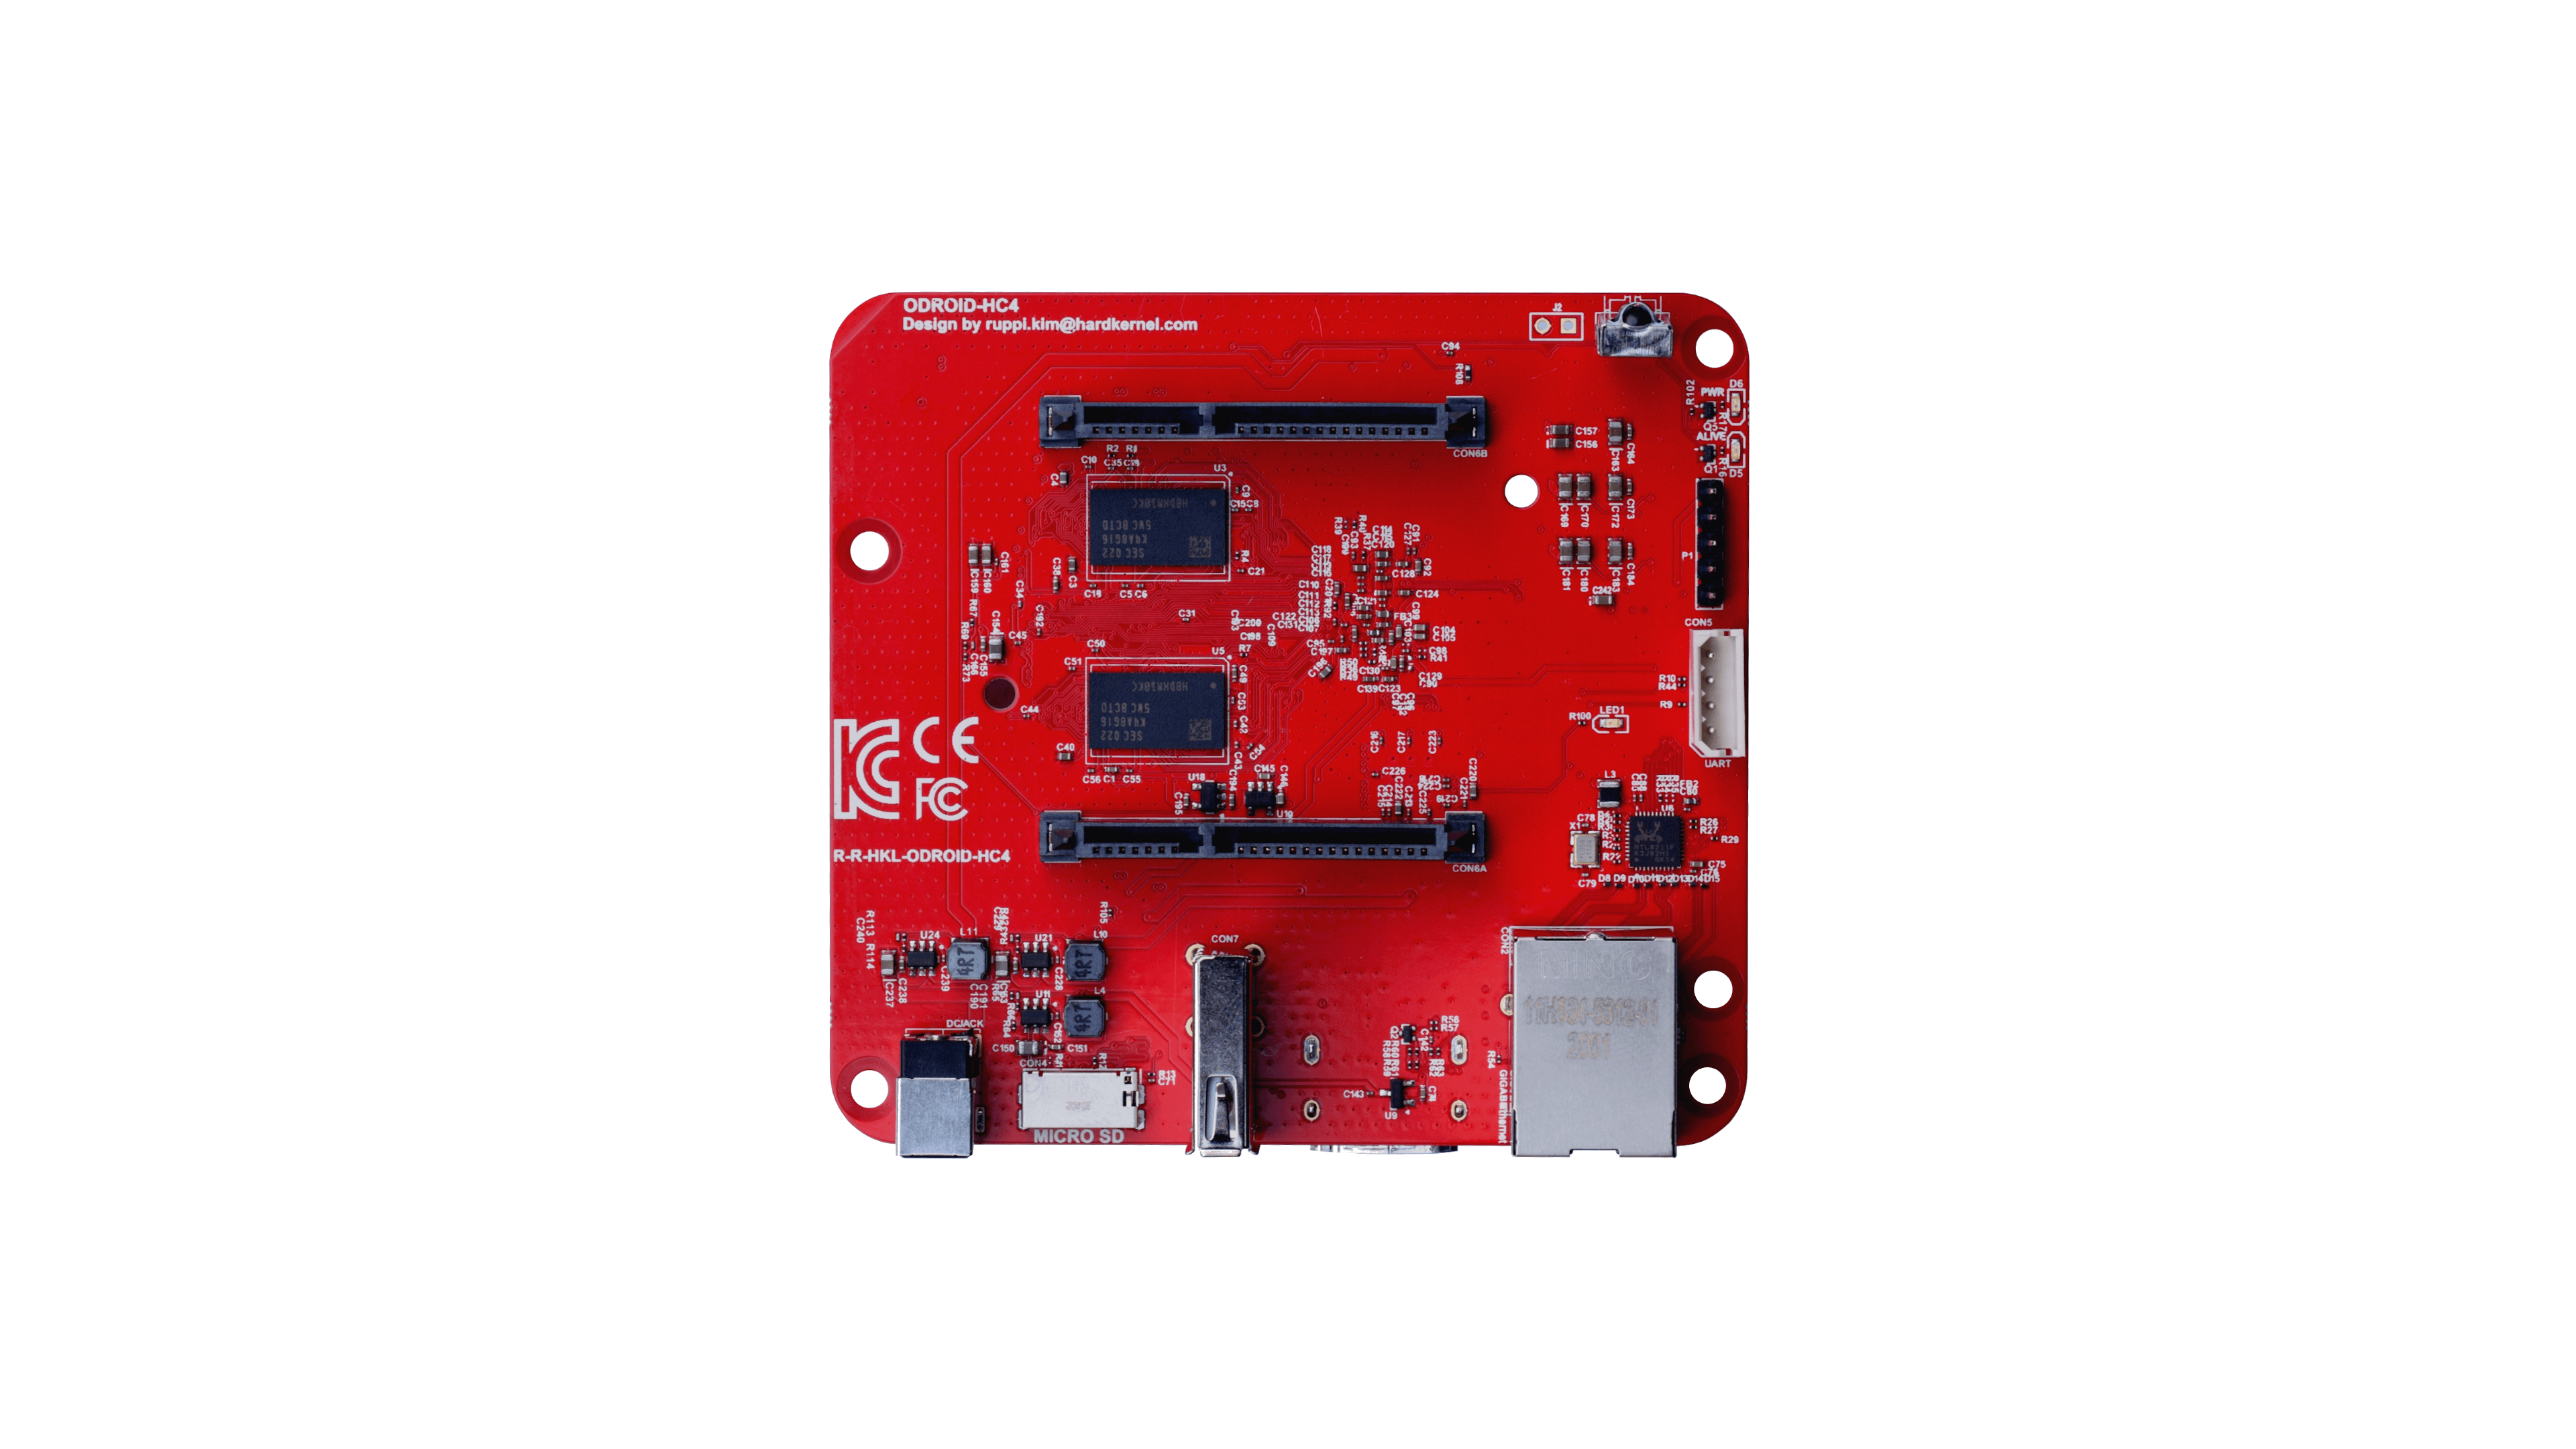
If you have variant with LCD display – here you can download driver.
Important: To be able to boot clean Armbian mainline based u-boot / kernel experiences, you need to remove incompatible Petitboot loader that is shipped with the board.
Try one of the following methods:
Bootloader Bypass Method
This is now the preferred method. It is easier, and be performed without a display via SSH
-
- Install an SD Card with a fresh Armbian image
- Flip device upside down
- With a tool, press and hold down the black button.
- Continue holding button and plug in power to device
- Login to console or SSH and perform follow normal setup procedures
- Verify system can access SPI FLASH device and Erase
- Reboot
odroidhc4:~:# ls -ltr /dev/mtd*
crw------- 1 root root 90, 0 Nov  6 21:38 /dev/mtd0
brw-rw---- 1 root disk 31, 0 Nov  6 21:38 /dev/mtdblock0
crw------- 1 root root 90, 1 Nov  6 21:38 /dev/mtd0ro
odroidhc4:~:# flash_erase /dev/mtd0 0 0
Erasing 4 Kibyte @ fff000 -- 100 % complete
odroidhc4:~:#
Petitboot Console Method
Attach the device to a display and keyboard. Power on. Petitboot will load
From the Petitboot menu, go for “Exit to shell” and these commands to remove the Petitboot:
# flash_eraseall /dev/mtd0
# flash_eraseall /dev/mtd1
# flash_eraseall /dev/mtd2
# flash_eraseall /dev/mtd3
This will make your SPI flash memory empty and would start from SD on next boot.
In case you want to put Petitboot back to the board, user those instructions.
FAN support
Create a file in /etc/fancontrol with the following content:
INTERVAL=10
DEVPATH=hwmon0=devices/virtual/thermal/thermal_zone0 hwmon2=devices/platform/pwm-fan
DEVNAME=hwmon0=cpu_thermal hwmon2=pwmfan
FCTEMPS=hwmon2/pwm1=hwmon0/temp1_input
FCFANS= hwmon2/pwm1=hwmon2/fan1_input
MINTEMP=hwmon2/pwm1=50
MAXTEMP=hwmon2/pwm1=60
MINSTART=hwmon2/pwm1=20
MINSTOP=hwmon2/pwm1=28
MINPWM=hwmon2/pwm1=0
MAXPWM=hwmon2/pwm1=255
followed by:
sudo systemctl restart fancontrol
With kernel 5.15.y -> you need to remove FCFANS=hwmon2/pwm1=hwmon2/fan1_input in /etc/fancontrol
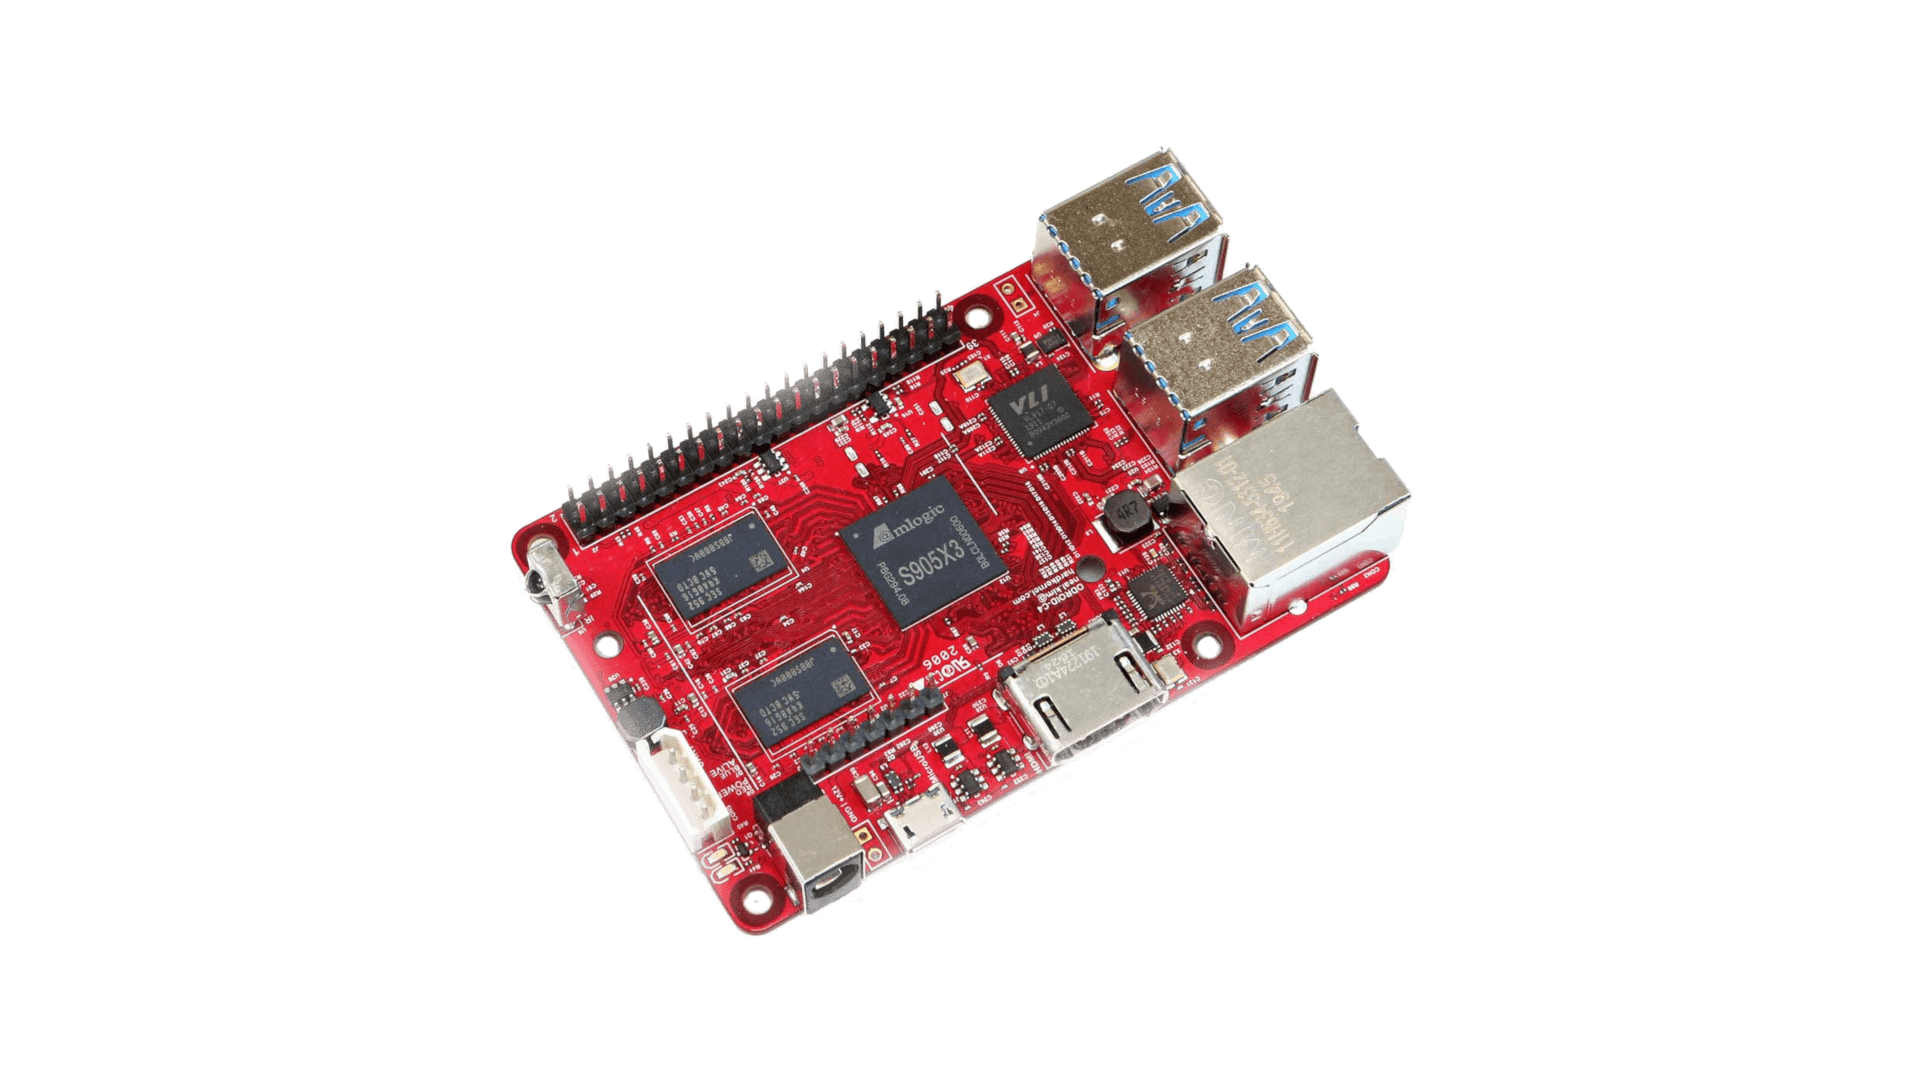
In case you are experiencing reboot troubles, make sure to update u-boot. How? Run this command as root:
armbian-install -> "Update bootloader"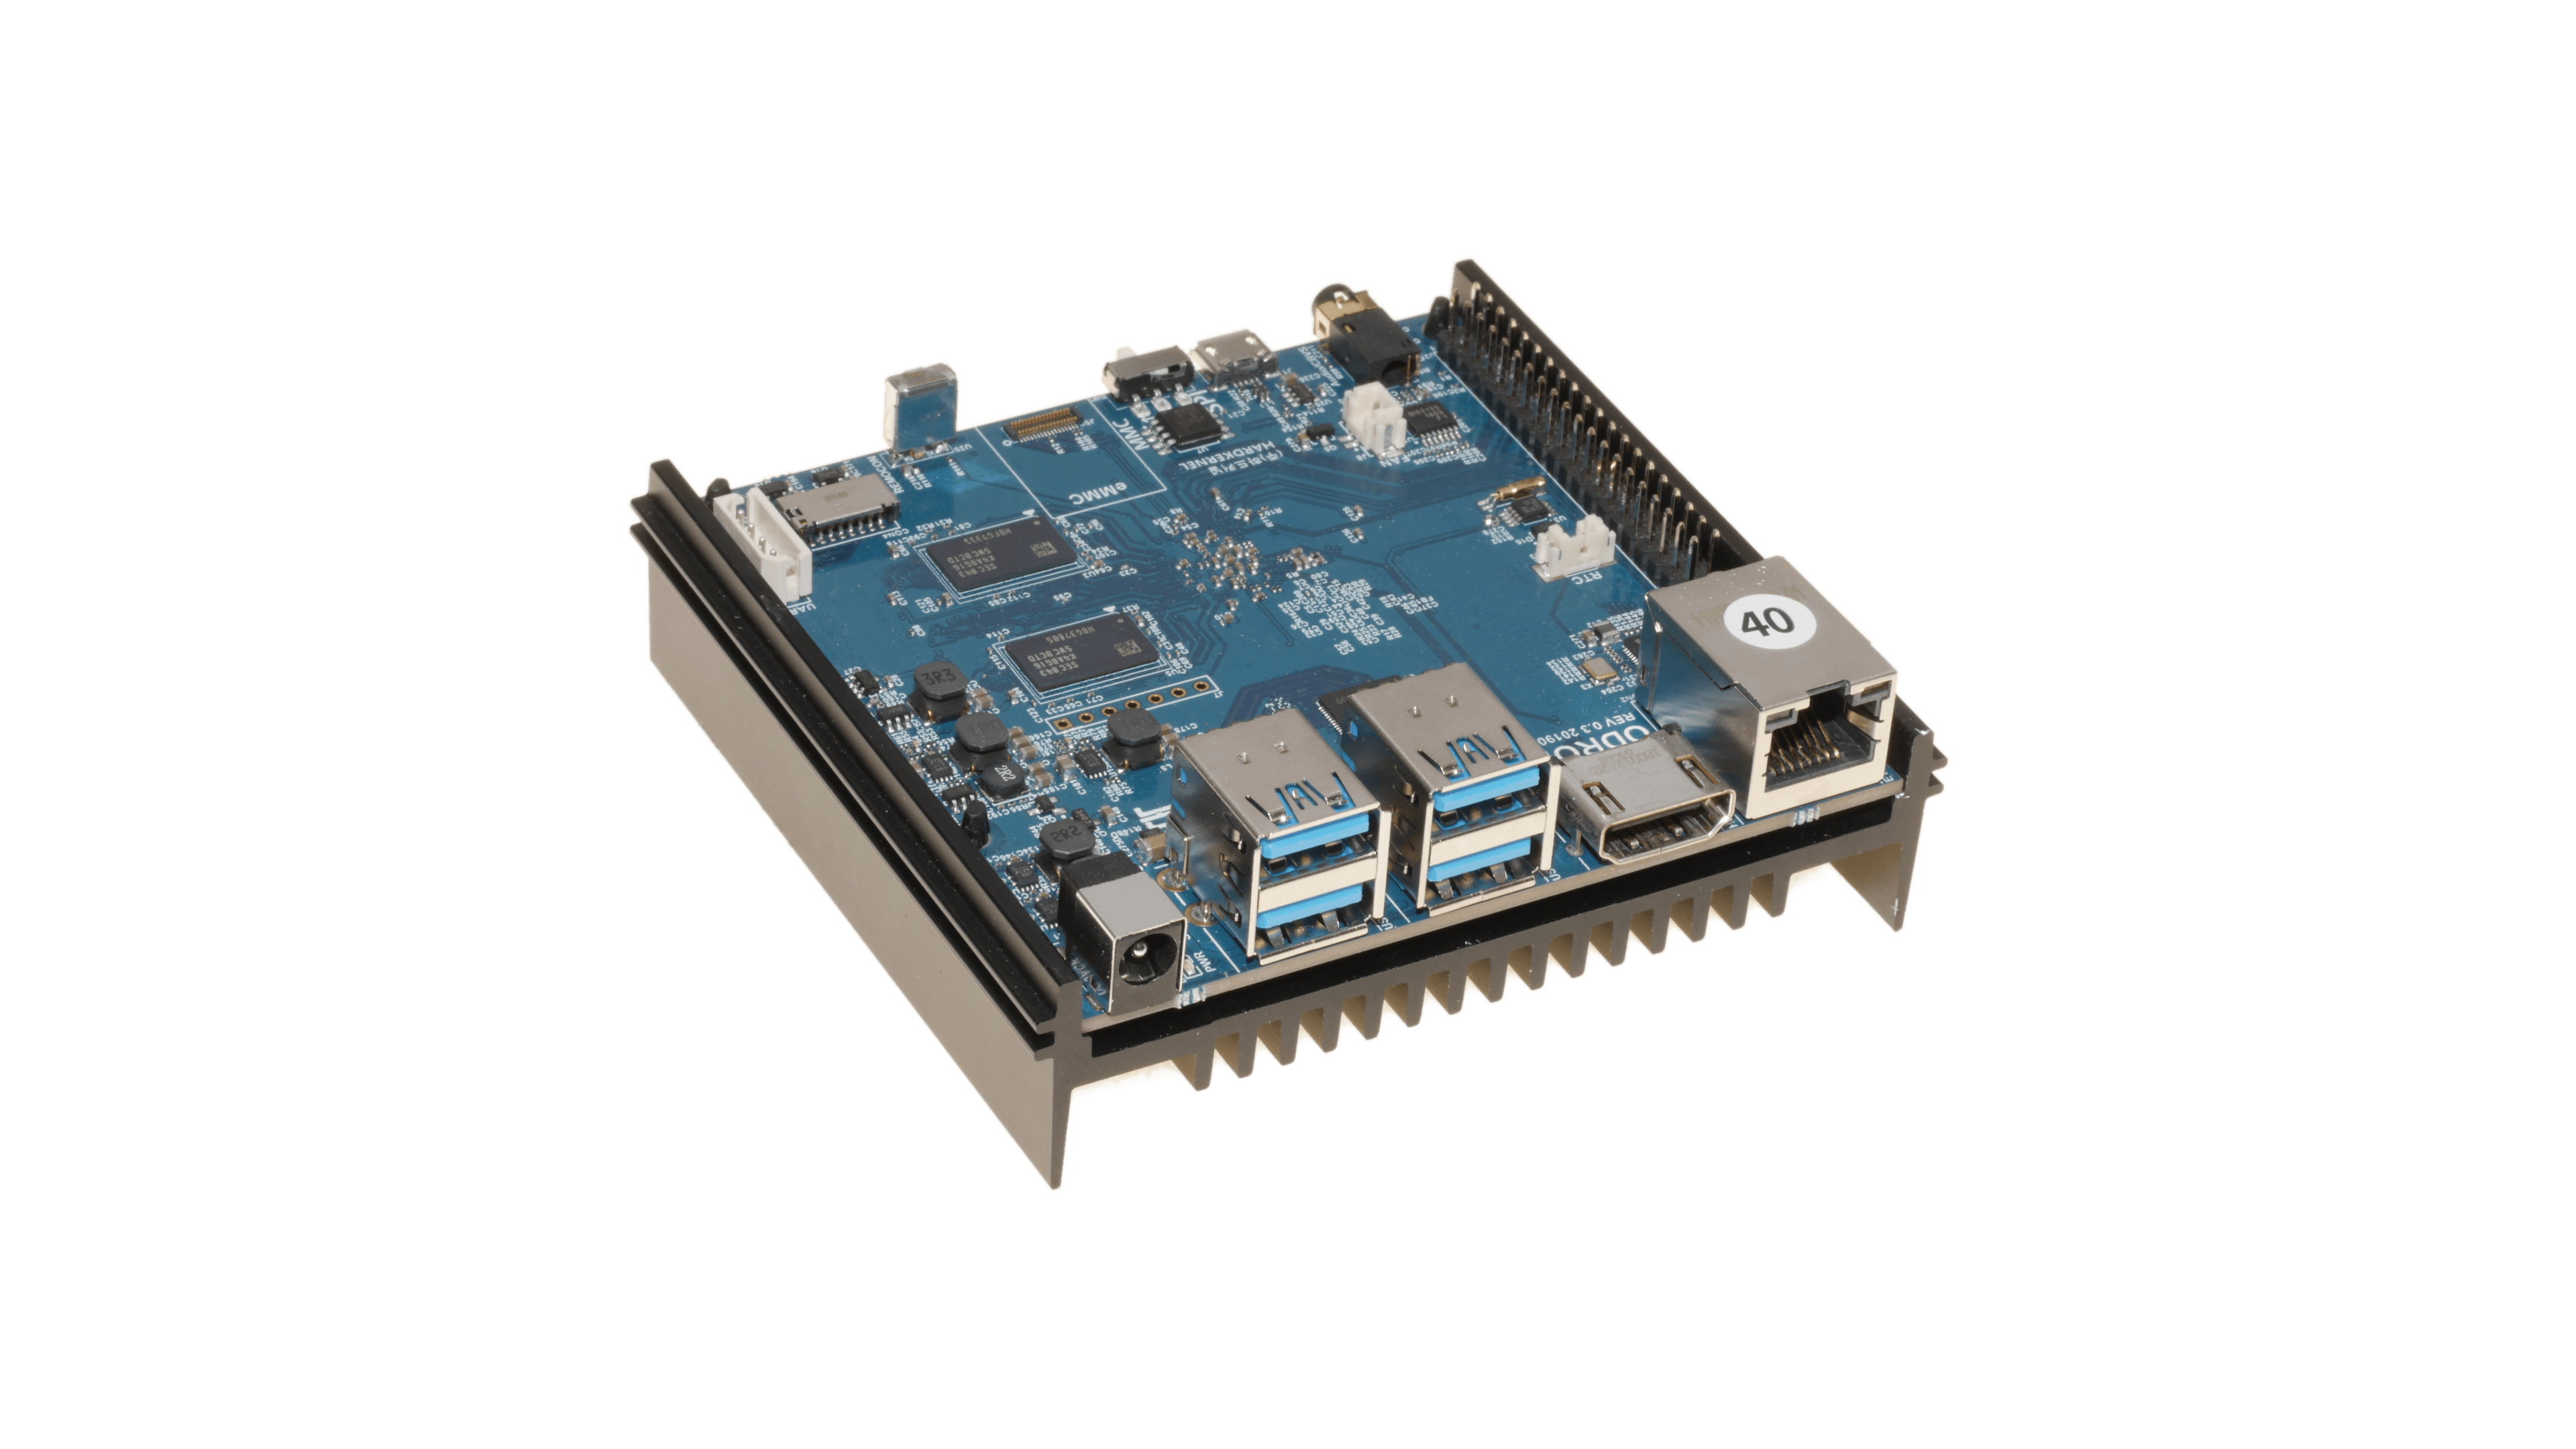
- some people are having troubles with booting with Petitboot loader. In case you have troubles too, you need to disable Petitboot by running fw_setenv skip_spiboot true in the command line of Petitboot
- On modern kernels adding “video=HDMI-A-1:1920x1080M@60D” to boot /boot/armbianEnv.txt (extraargs=) should force HDMI to 1080p instead of the 4K native resolution.
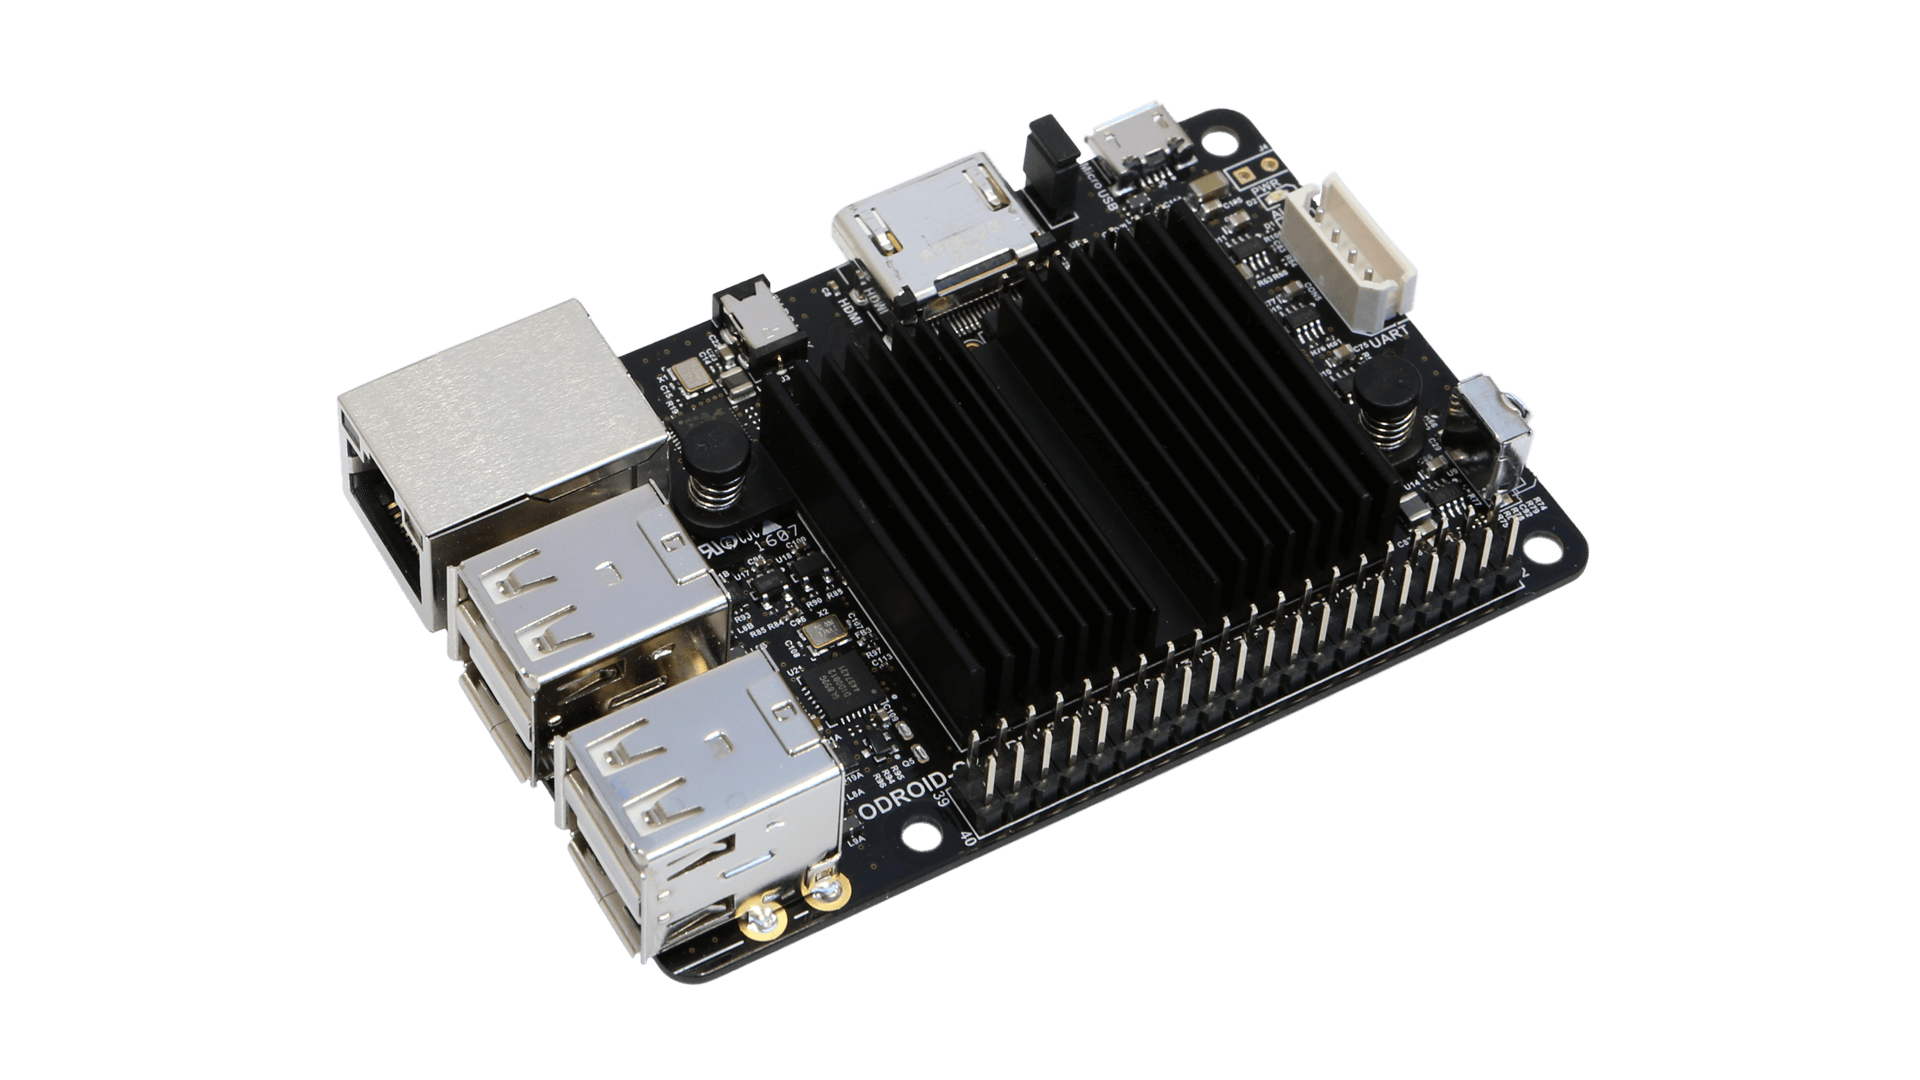
- USB troubles workaround
- Amlogic devices are picky on SD card brand. Expect troubles with some models.
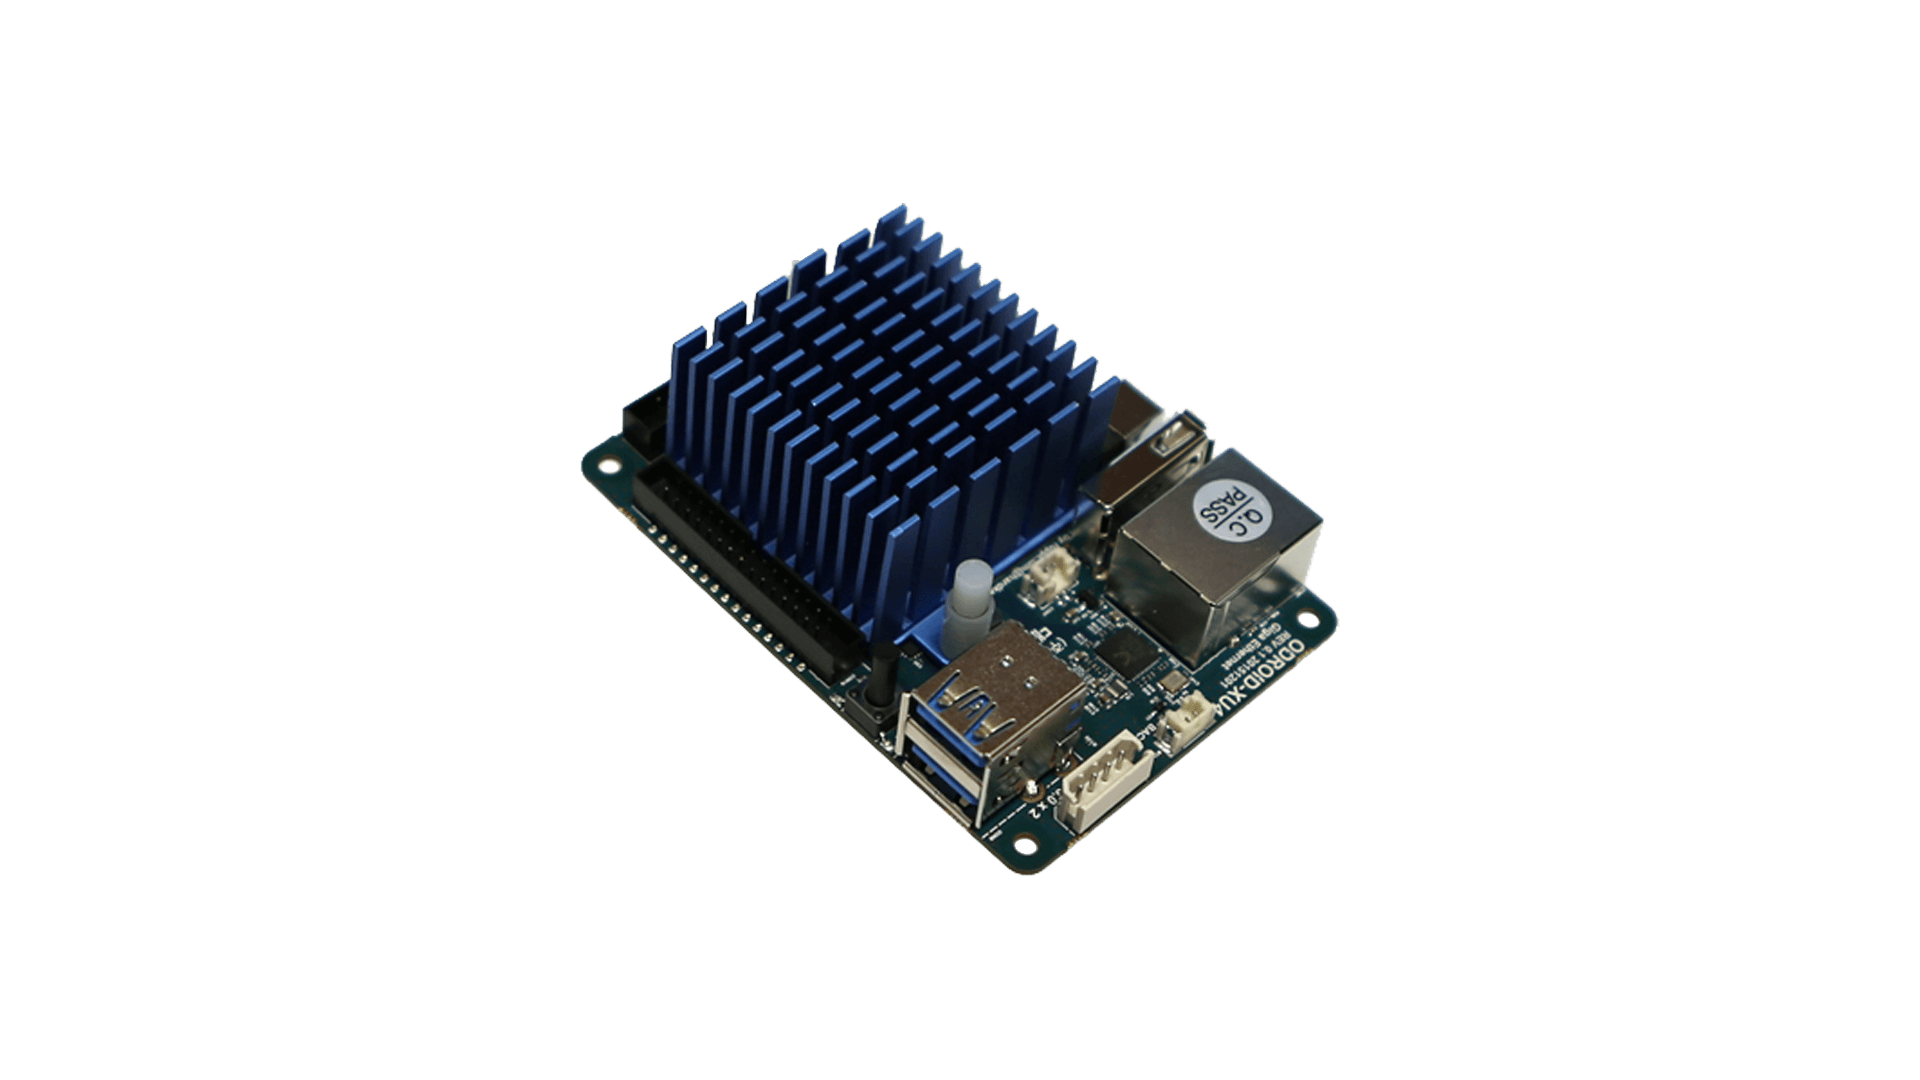
For HC1 and HC2 we provide specially optimized config which you can enable via armbian-config -> system -> kernel -> select odroid configuration. This results in shorter boot time and lower consumption. Manualls – edit or create /boot/armbianEnv.txt and add: board_name=xu4 # or xu3, xu3, hc1
Overlay management via armbian-config is not supported. You need to edit /boot/boot.ini and add overlays manually. Look for a line:
setenv overlays "i2c0 i2c1 hktft-cs-ogst"
Here you add what you need. More you can find in /boot/dtb/ or /boot/dtb/overlays
Make sure to adjust path in
ext4load mmc 0:1 0x60000000 /boot/dtb/overlays/${overlay}.dtbo
accordingly.
