PD is broken for the 5B model (background) on most revisions that are in the wild and is causing boot loop. Workaround is to use a stupid / fixed 5-24 volts USB-C power supply.
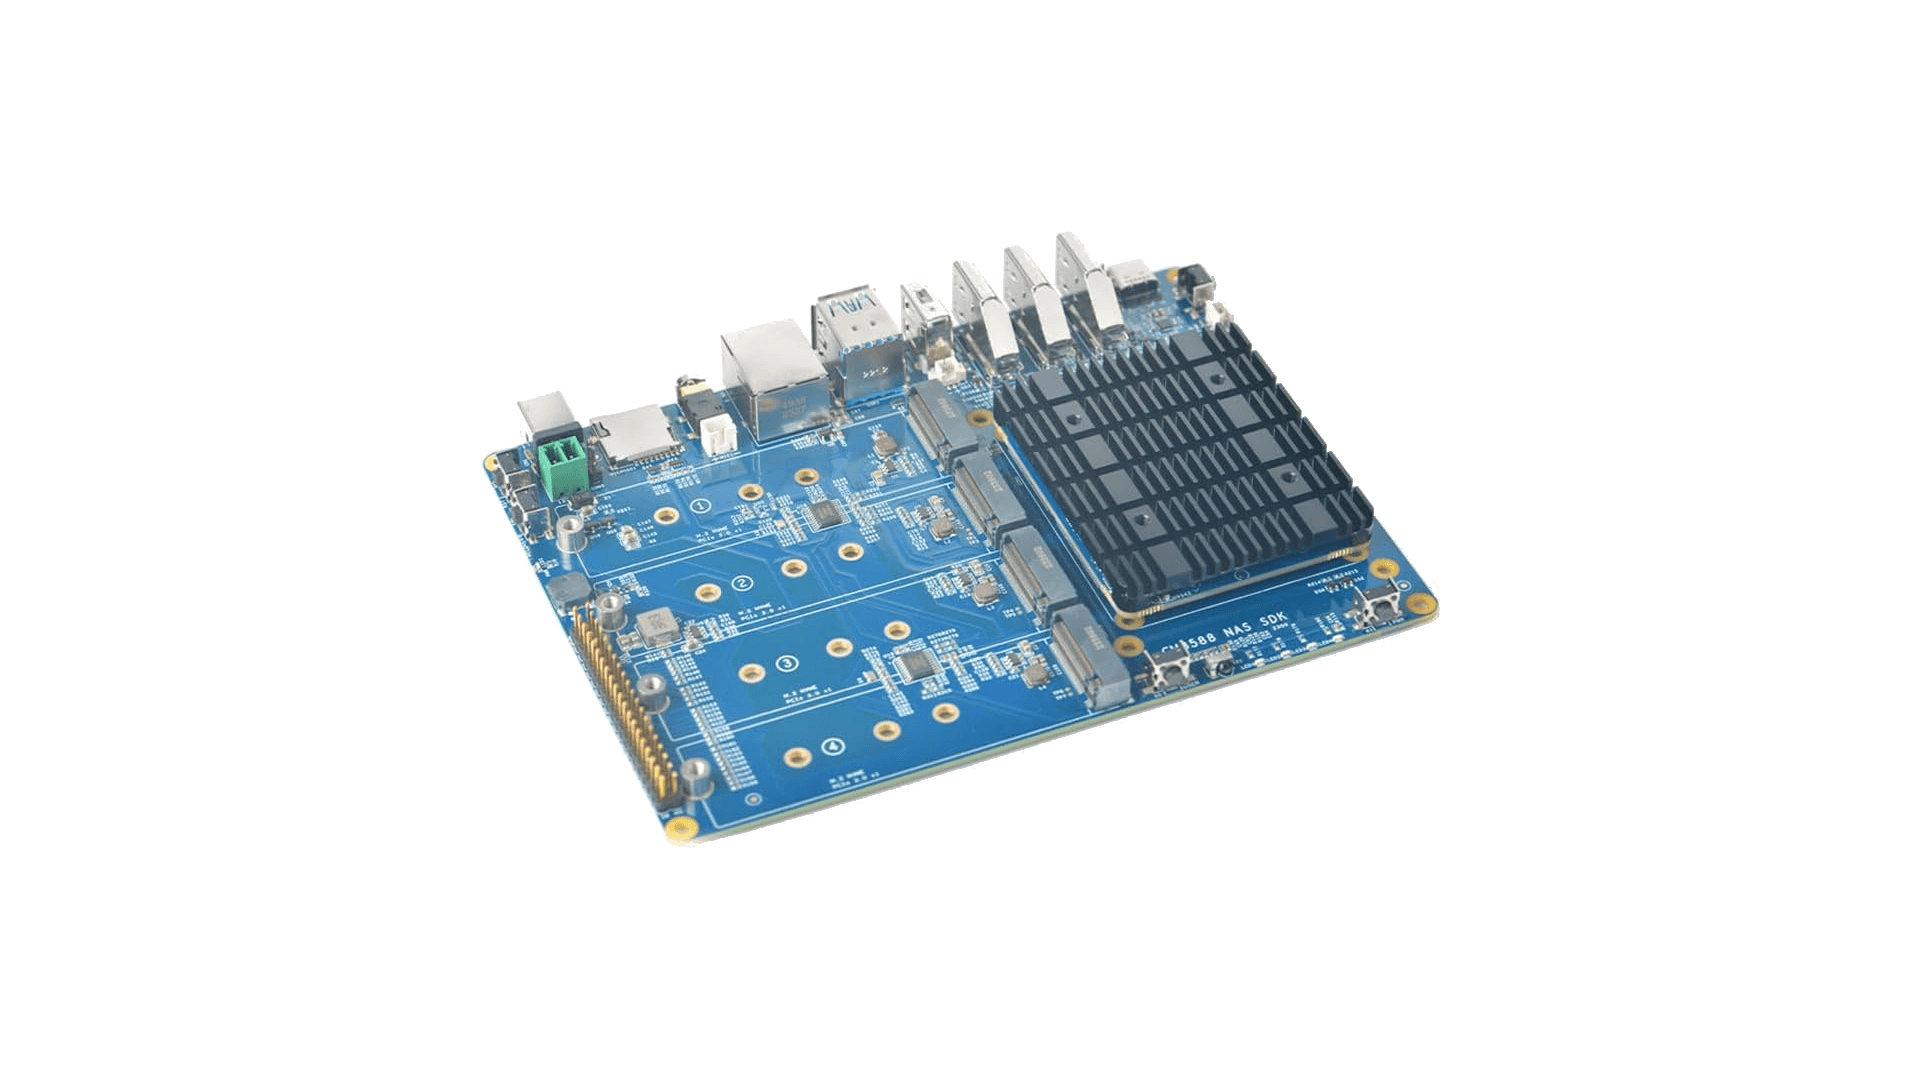
On your board, edit the file /boot/armbianEnv.txt: Find the line fdtfile="rockchip/rk3588-nanopc-cm3588-nas.dtb" and replace this line with fdtfile="rockchip/rk3588-friendlyelec-cm3588-nas.dtb", DO NOT REBOOT YET
Update your kernel as usual.
You only have to do this once, and only on existing installations. New installations and further update will not need any manual intervention.
(video instructions were not done by Armbian team, but it might help you get going)
If you are having a NanoPi R6C variant, replace fdtfile=rockchip/rk3588s-nanopi-r6s.dtb in /boot/armbianEnv.txt with fdtfile=rockchip/rk3588s-nanopi-r6c.dtb