Lenovo X13S
By Ricardo Pardini / General purpose / 0 Comments

Lenovo X13S

To get started, burn the image to a USB stick using BalenaEtcher. Install all firmware updates in Windows and the Lenovo utility.

In Lenovo x13s’s BIOS config, disable Secure Boot (this will create problems with Windows Bitlocker, unless you disable that first.)

Insert USB and press F12 during boot to select it.  Be patient during first boot during filesystem resize; it might take multiple minutes depending on the disk.

It is recommended to create Lenovo’s Windows USB recovery disk before wiping your Windows install. You might require it to deploy firmware updates. Windows ARM64 on this machine is Lenovo-specific and the generic Win ARM64 images won’t work.

For now, only Ubuntu Lunar (via Concept x13s PPA) has the userspace required for working audio and battery charging support, and a patched mesa for accelerated graphics.

Debian Trixie/Sid and Ubuntu Mantic have a more recent mesa that does not need patching, but no working battery charge nor audio.

khadas-vim3-l
By Ricardo Pardini / General purposeDesktop / 0 Comments

Khadas VIM3L

Installation:

  • Download Khadas Rescue system (flash to SD card, insert, power on, hold FUNCTION and short press RESET button)
  • Download Armbian image and place it to the USB drive (copy .xz or .img file, do not flash with Etcher)
  • Boot into Khadas OOWOW and install to eMMC by selecting image from USB drive
odroidm1
By Ricardo Pardini / General purposeNAS / 0 Comments

Odroid M1

Installation instructions:

  1. Write image to SD using BalenaEtcher.
  2. Boot from SD by holding the recovery (RCI) button while powering the board.
  3. Release RCY button after the blue LED flashes once.
  4. Once booted, use armbian-install to write u-boot to MTD (SPI flash). This completely and irrevocably removes Petitboot, replacing it with mainline u-boot.
  5. You can also install to NVMe, USB, or eMMC. NVMe or eMMC is recommended.
odroidhc4.png
By Ricardo Pardini / General purposeNAS / 0 Comments

Odroid HC4

If you have variant with LCD display – here you can download driver.

Important: To be able to boot clean Armbian mainline based u-boot / kernel experiences, you need to remove incompatible Petitboot loader that is shipped with the board.

Try one of the following methods:

Bootloader Bypass Method

This is now the preferred method.  It is easier, and be performed without a display via SSH

    1. Install an SD Card with a fresh Armbian image
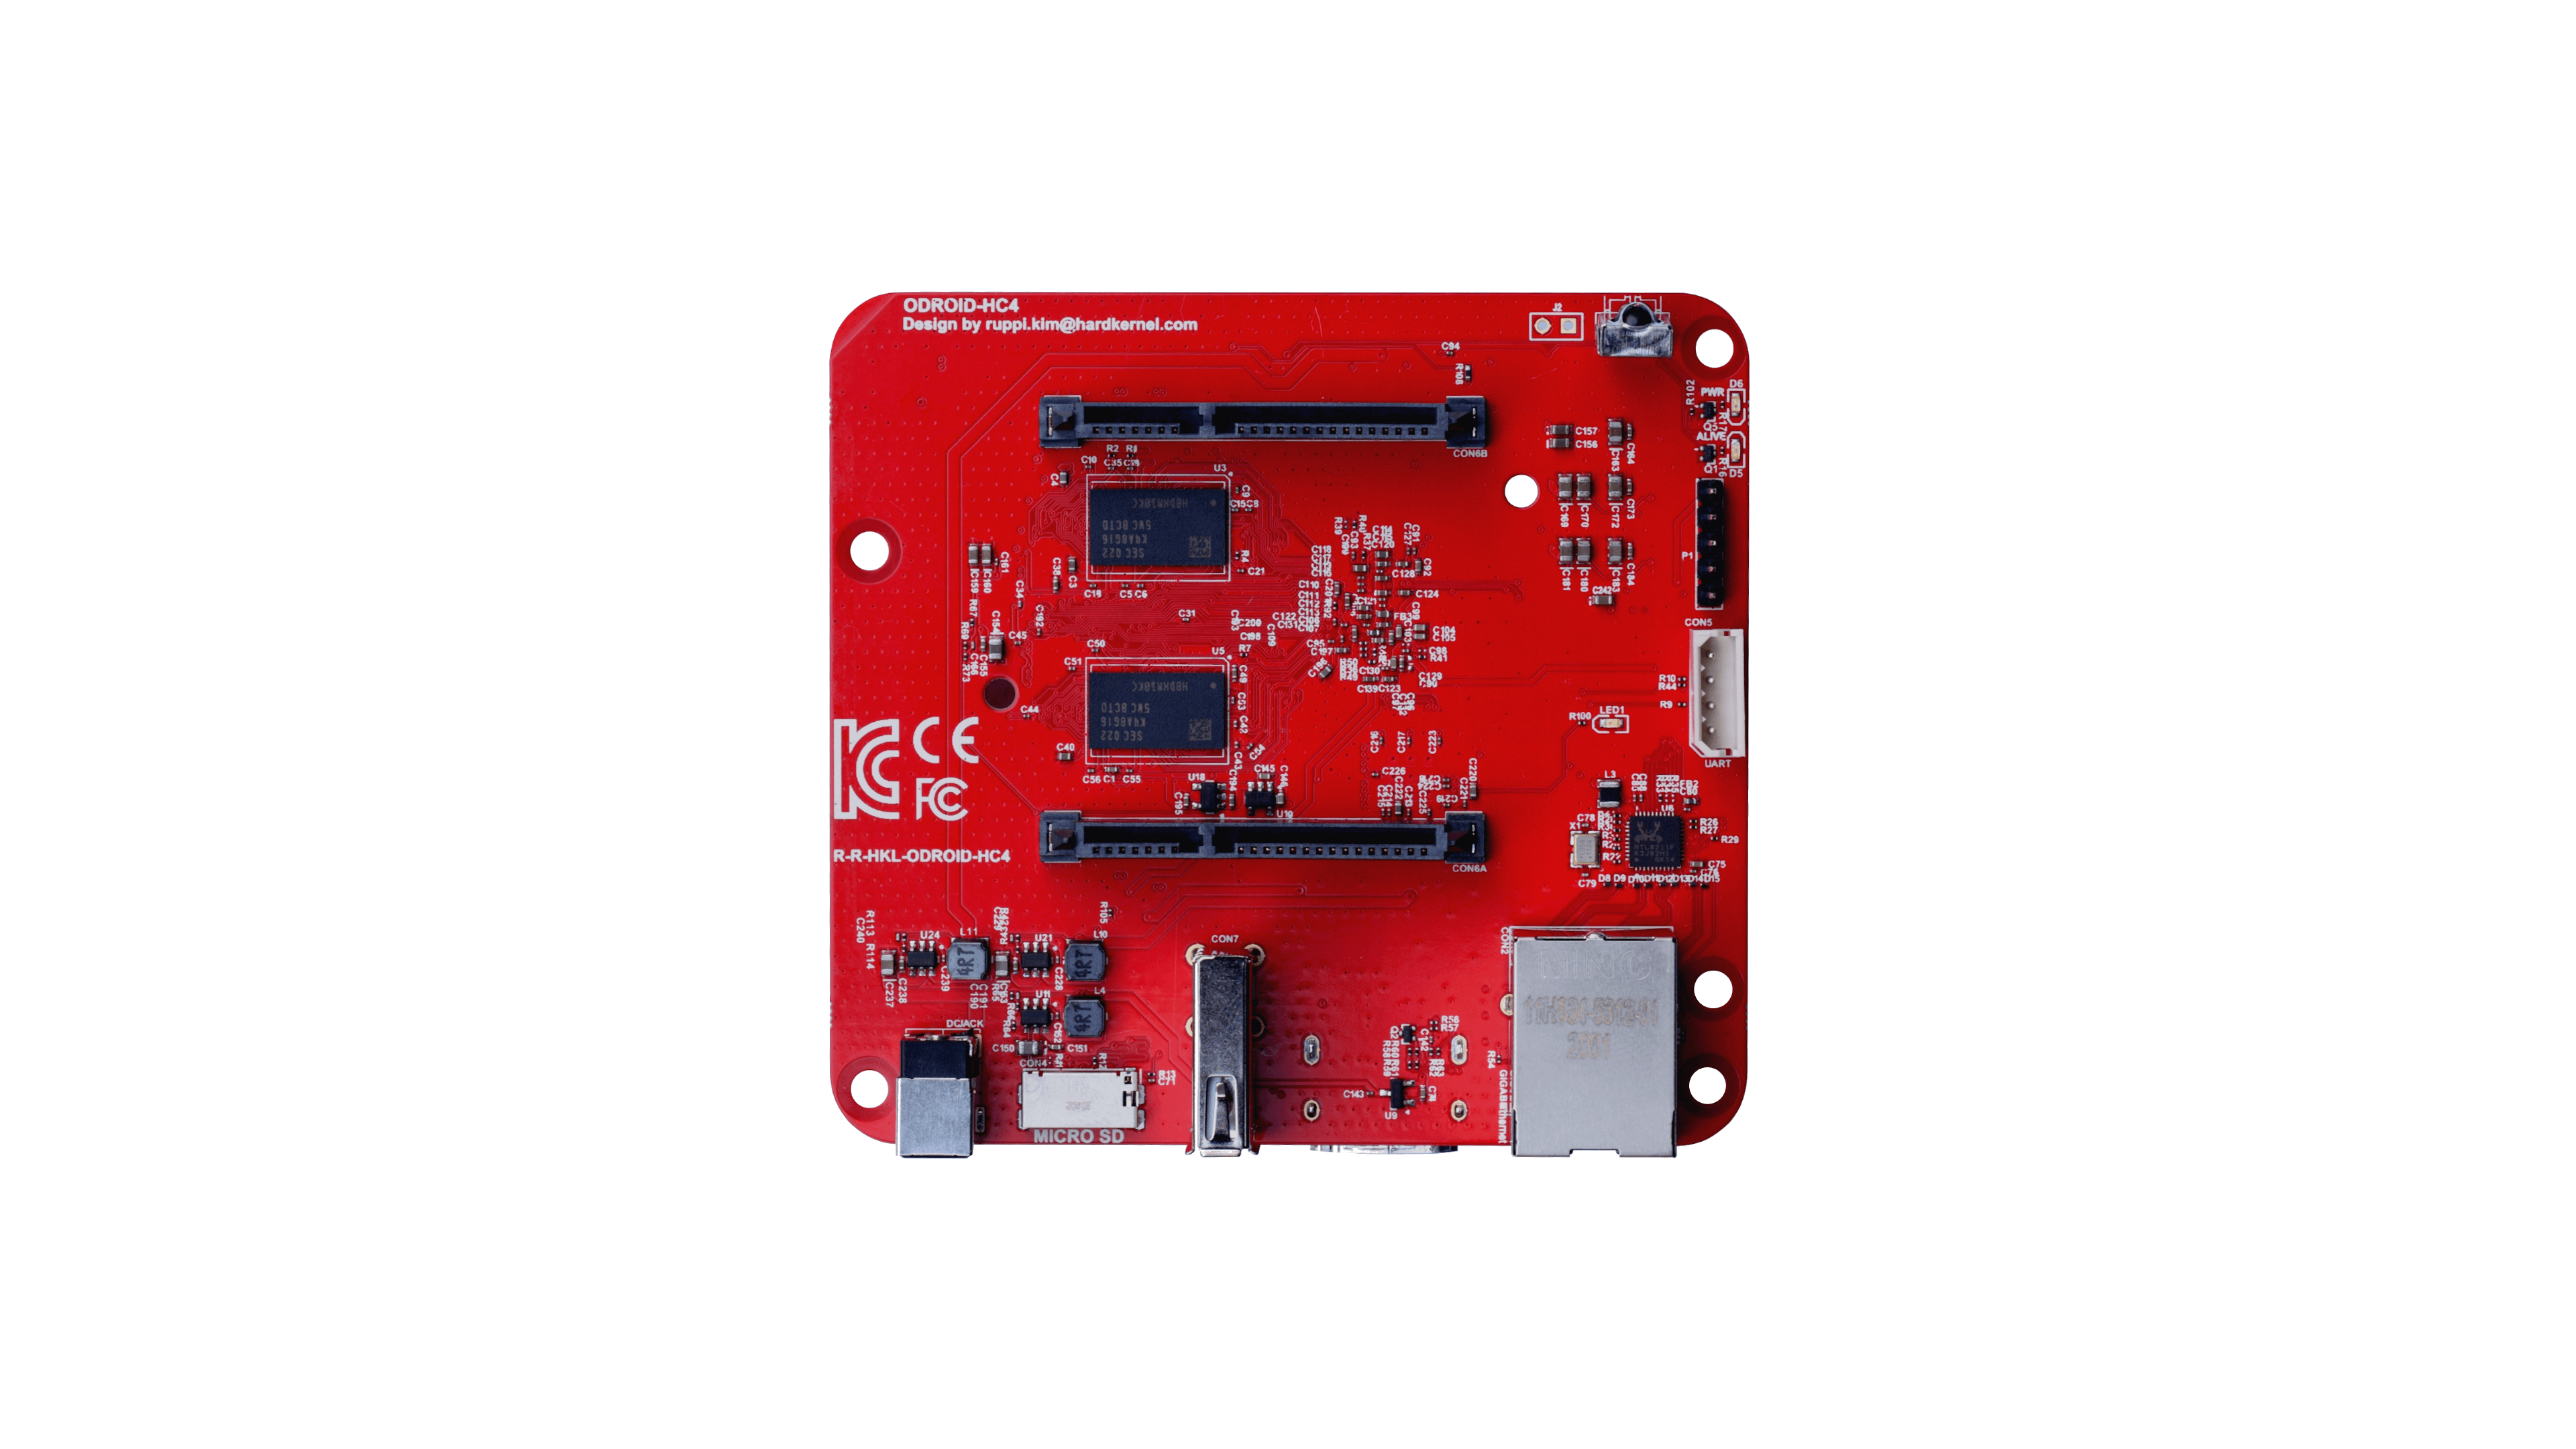
    2. Flip device upside down
    3. With a tool, press and hold down the black button.
    4. Continue holding button and plug in power to device
    5. Login to console or SSH and perform follow normal setup procedures
    6. Verify system can access SPI FLASH device and Erase
    7. Reboot
odroidhc4:~:# ls -ltr /dev/mtd*
crw------- 1 root root 90, 0 Nov  6 21:38 /dev/mtd0
brw-rw---- 1 root disk 31, 0 Nov  6 21:38 /dev/mtdblock0
crw------- 1 root root 90, 1 Nov  6 21:38 /dev/mtd0ro
odroidhc4:~:# flash_erase /dev/mtd0 0 0
Erasing 4 Kibyte @ fff000 -- 100 % complete
odroidhc4:~:#


Petitboot Console Method

Attach the device to a display and keyboard.  Power on.  Petitboot will load

From the Petitboot menu, go for “Exit to shell” and these commands to remove the Petitboot:

# flash_eraseall /dev/mtd0
# flash_eraseall /dev/mtd1
# flash_eraseall /dev/mtd2
# flash_eraseall /dev/mtd3

This will make your SPI flash memory empty and would start from SD on next boot.

In case you want to put Petitboot back to the board, user those instructions.

FAN support

Create a file in /etc/fancontrol with the following content:

INTERVAL=10
DEVPATH=hwmon0=devices/virtual/thermal/thermal_zone0 hwmon2=devices/platform/pwm-fan
DEVNAME=hwmon0=cpu_thermal hwmon2=pwmfan
FCTEMPS=hwmon2/pwm1=hwmon0/temp1_input
FCFANS= hwmon2/pwm1=hwmon2/fan1_input
MINTEMP=hwmon2/pwm1=50
MAXTEMP=hwmon2/pwm1=60
MINSTART=hwmon2/pwm1=20
MINSTOP=hwmon2/pwm1=28
MINPWM=hwmon2/pwm1=0
MAXPWM=hwmon2/pwm1=255

followed by:

sudo systemctl restart fancontrol

With kernel 5.15.y -> you need to remove FCFANS=hwmon2/pwm1=hwmon2/fan1_input in /etc/fancontrol