- In order to run Kodi (
sudo apt install kodi) with HW acceleration, you have to run kodi under gbm or wayland. - If you cannot boot Armbian from SD card, you need to erase SPI bootloader from stock OS

sudo apt install kodi) with HW acceleration, you have to run kodi under gbm or wayland.


| Armbian 25.5.1 Bookworm Minimal / IOT testing: |
Armbian 25.5.1 Noble Gnome testing: |
|---|---|
|
|


Testing report:
Armbian_24.11.1_Rock-5-itx_noble_vendor_6.1.75_kde-neon-kisak_desktop.img.xz |
1.7 GiB |
2024-Nov-28 20:28 |
OK |
Desktop Works |
Armbian_24.11.1_Rock-5-itx_bookworm_vendor_6.1.75_cinnamon-backported-mesa_desktop.img.xz |
1.4 GiB |
2024-Nov-28 20:20 |
OK |
Desktop Works |
Armbian_24.11.1_Rock-5-itx_noble_vendor_6.1.75_gnome-kisak_desktop.img.xz |
1.4 GiB |
2024-Nov-28 20:19 |
OK |
Desktop Works |
Armbian_24.11.1_Rock-5-itx_bookworm_vendor_6.1.75_xfce_desktop.img.xz |
1.3 GiB |
2024-Nov-28 20:15 |
OK |
Desktop Works |
Armbian_24.11.1_Rock-5-itx_noble_vendor_6.1.75_xfce_desktop.img.xz |
1.2 GiB |
2024-Nov-28 20:24 |
OK |
Desktop Works |
Armbian_24.11.1_Rock-5-itx_noble_vendor_6.1.75-kisak.img.xz |
476.3 MiB |
2024-Nov-28 19:58 |
OK |
System Works (MESA) |
Armbian_24.11.1_Rock-5-itx_bookworm_vendor_6.1.75_minimal.img.xz |
238.3 MiB |
2024-Nov-28 19:57 |
OK |
System Works (HDMI YES) |
Armbian_24.11.1_Rock-5-itx_noble_vendor_6.1.75_minimal.img.xz |
233.2 MiB |
2024-Nov-28 19:54 |
OK |
System Works (HDMI YES) |
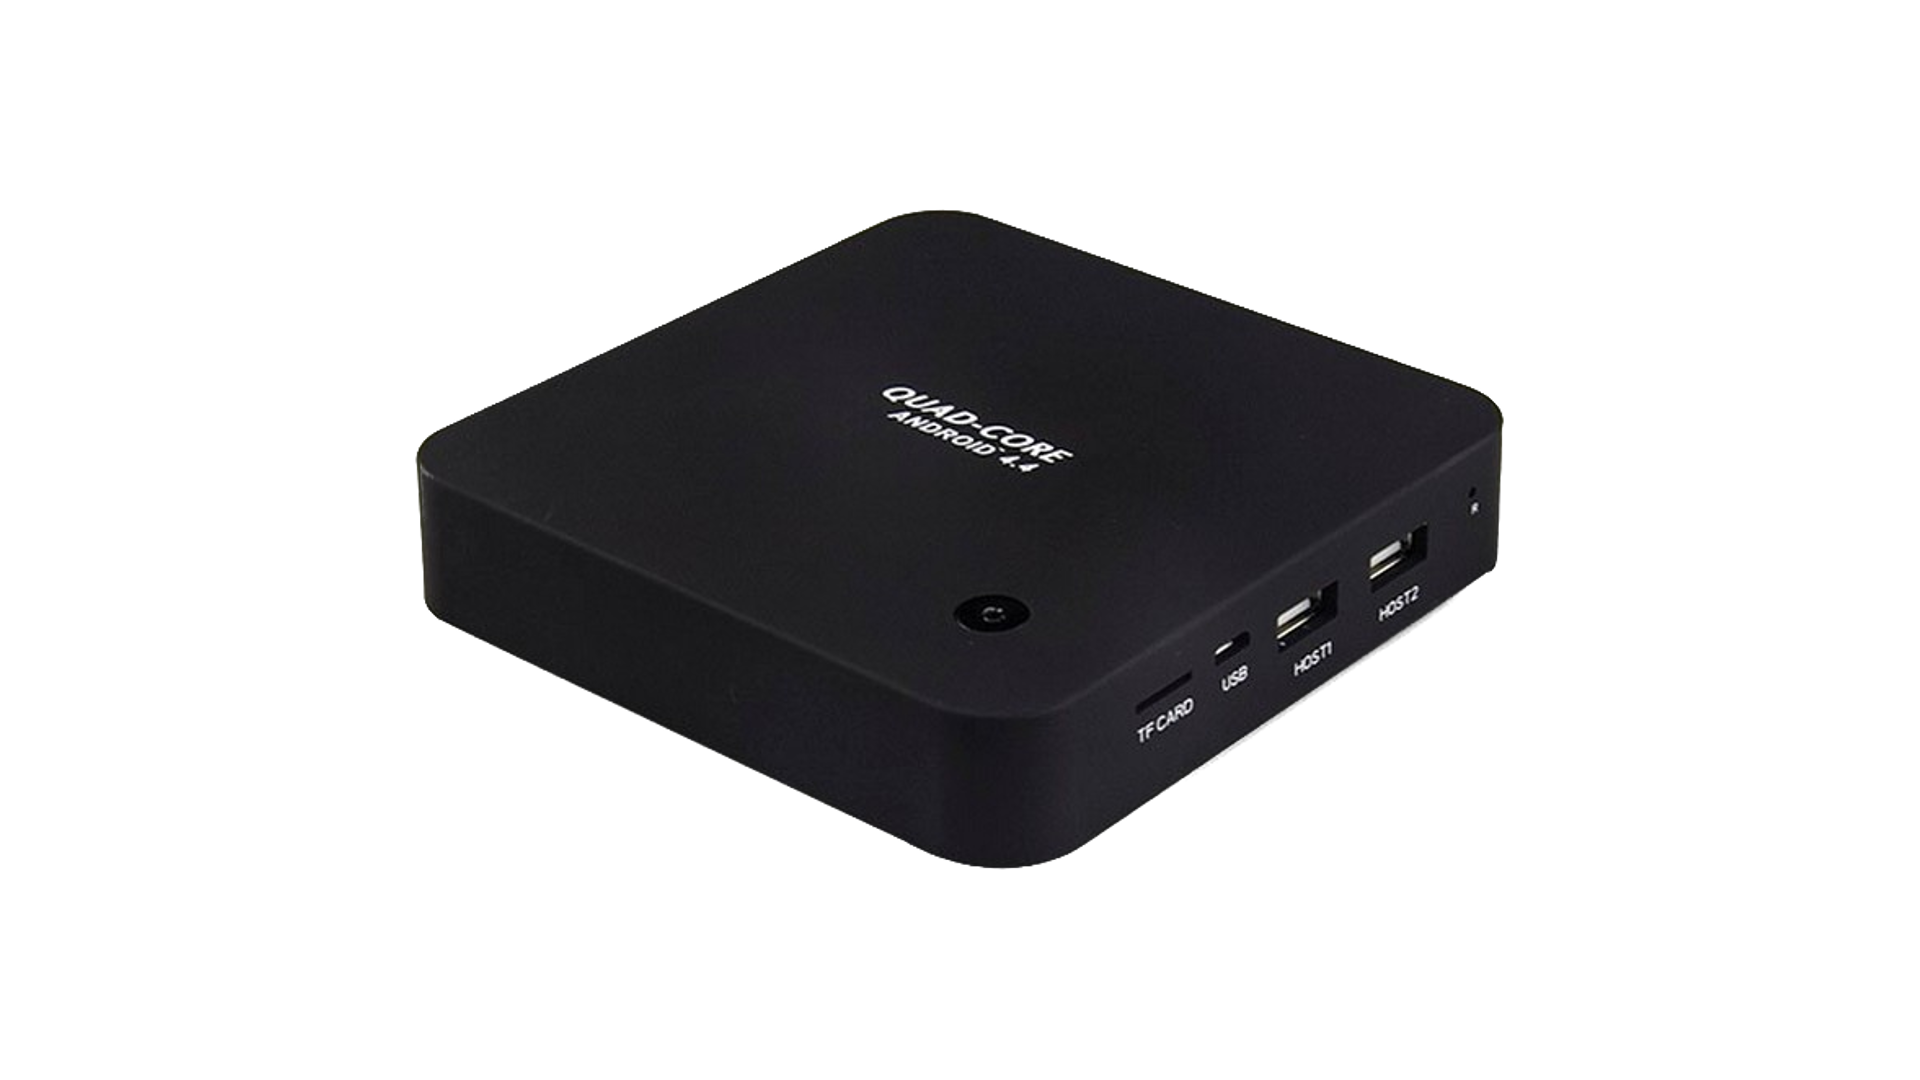
TV Boxes are not officially supported by the Armbian project. These builds are maintained by community members (like you).