

- powering with PD capable PSU is not possible. It has to be dumb 5V
- To change display resolution, add below to the /boot/armbianEnv.txt:
extraargs=video=HDMI-A-1:1920x1080M@60
- v25.8.2 vendor and current Gnome variant tested
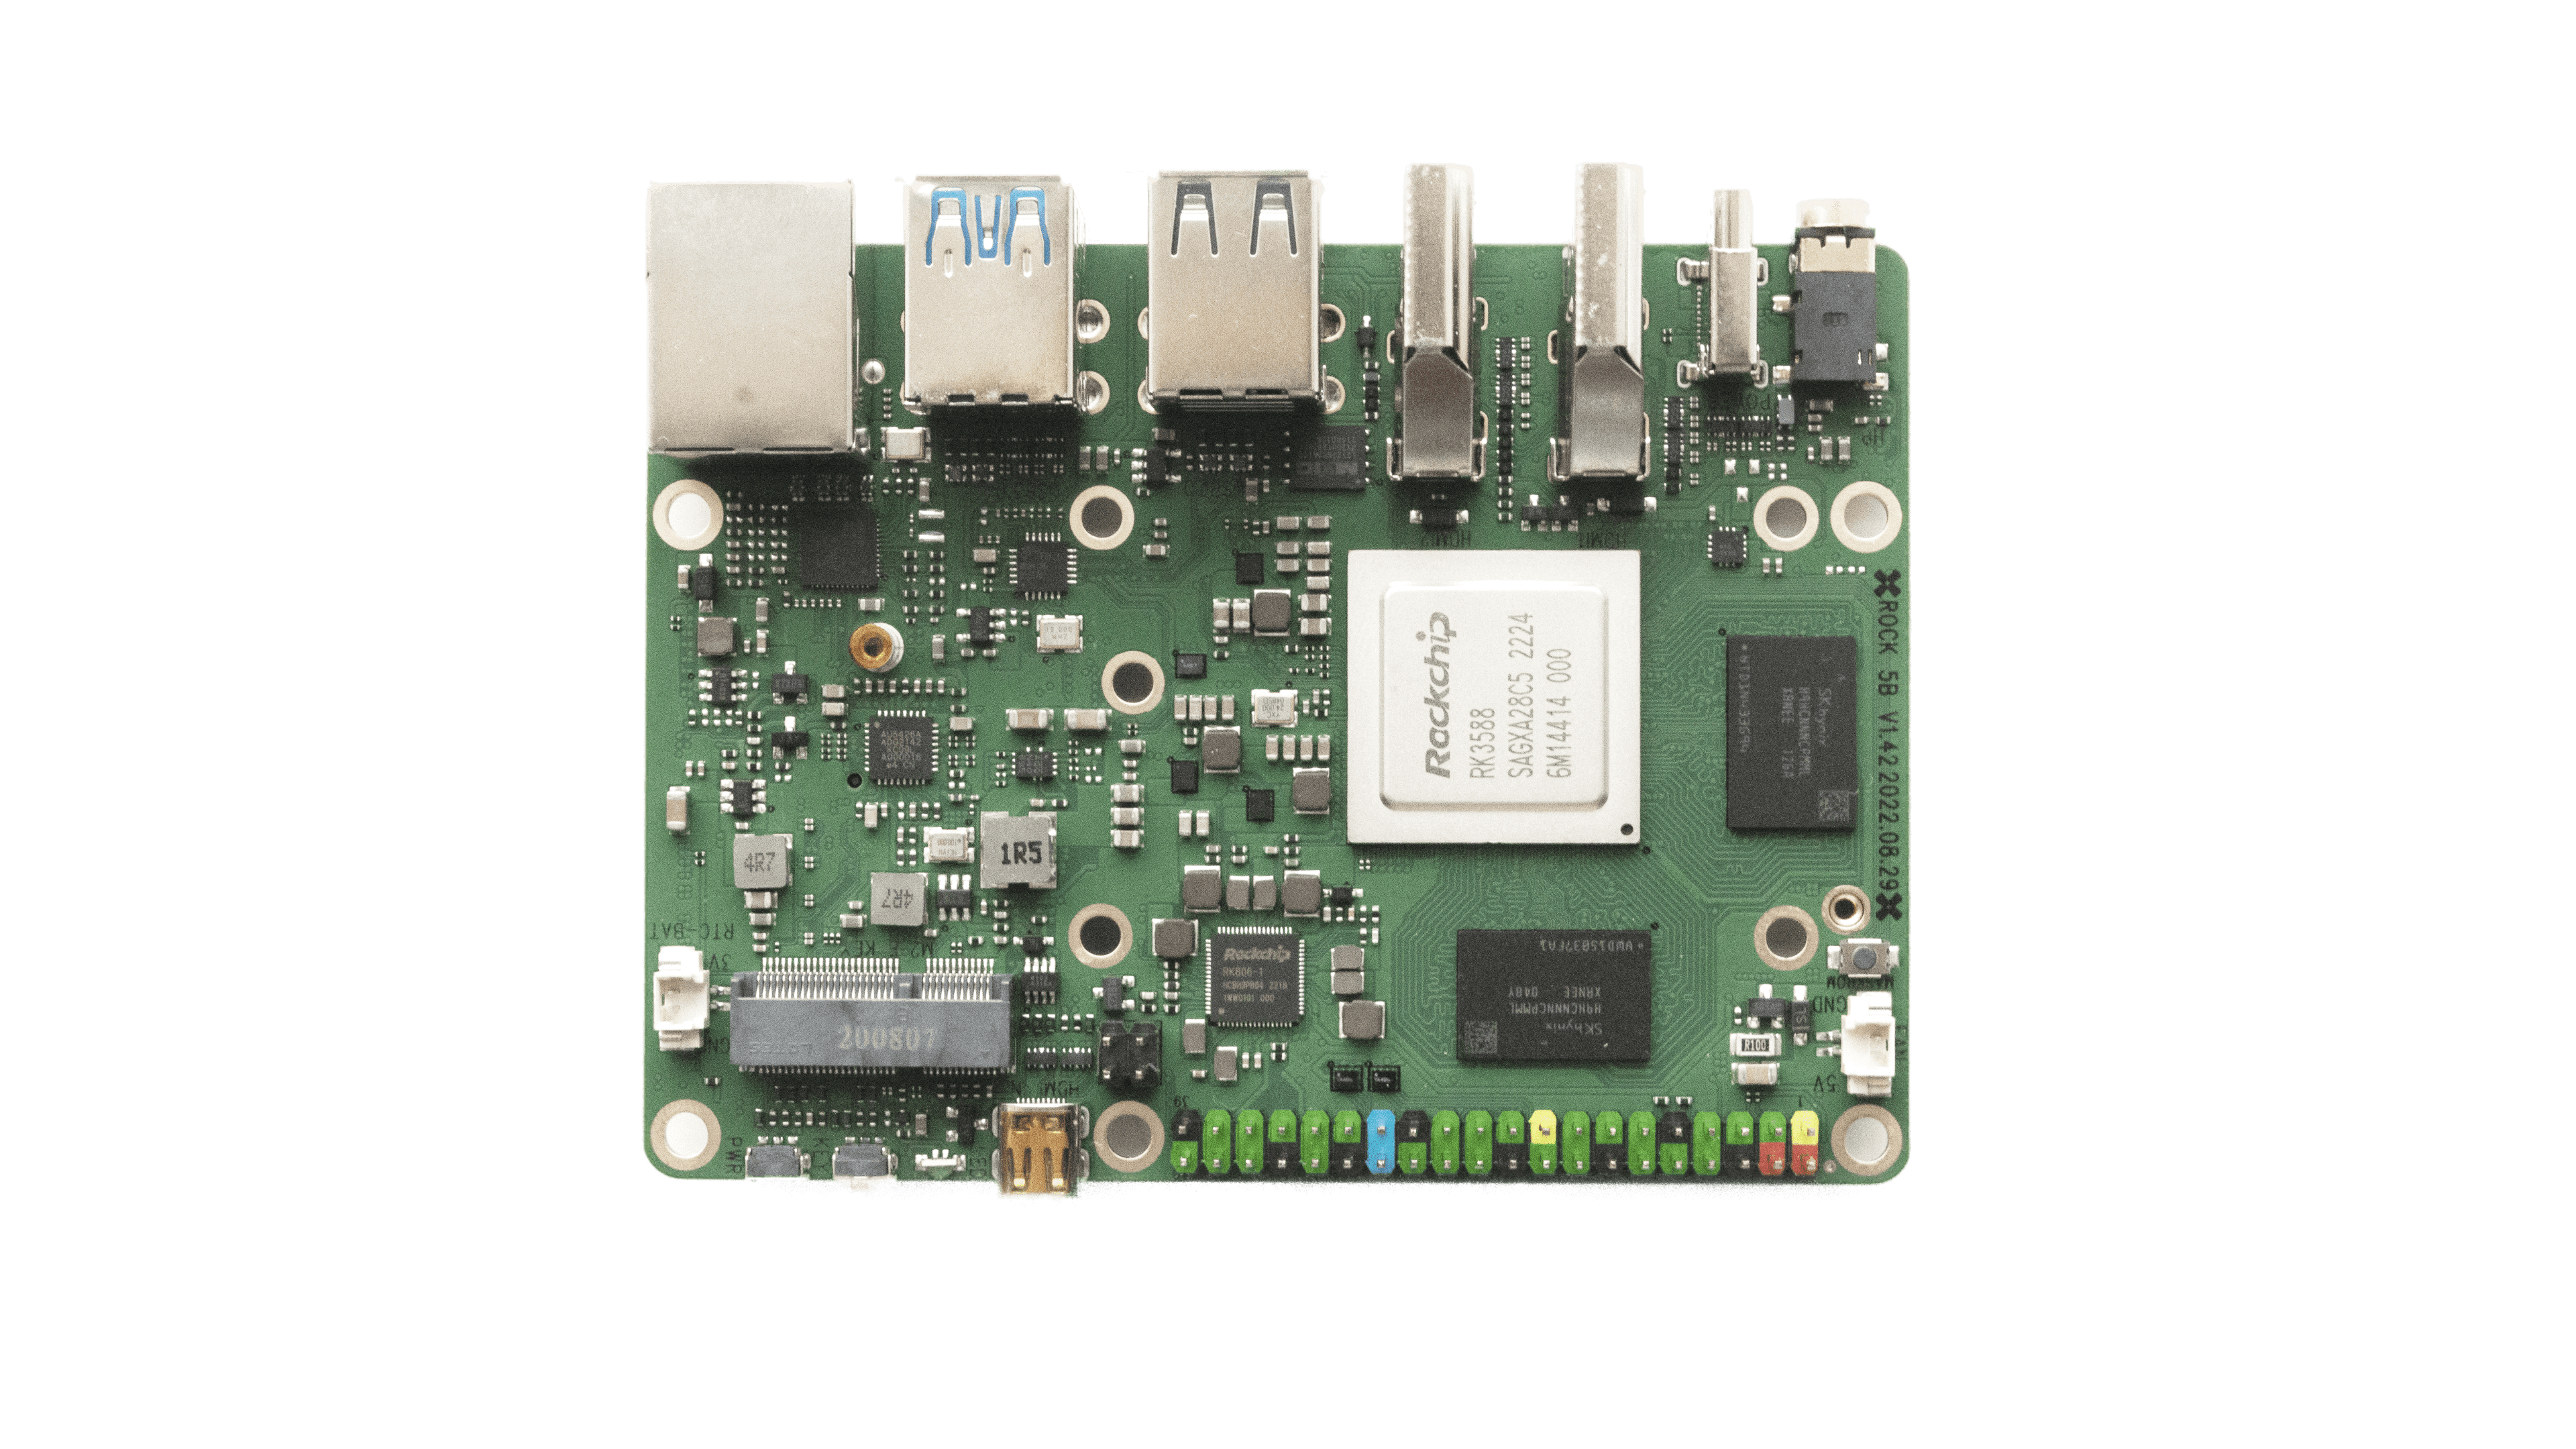
- Images here are for 5B, for model 5A can be found here.
- Some eMMC devices are broken on 5A
- PD is broken for the 5B model (background) on most revisions that are in the wild and is causing boot loop. Workaround is to use a stupid / fixed 5-24 volts USB-C power supply.
- Installation to NVME or USB is done via standard armbian install utility (
sudo armbian-install). Make sure to generate partitions and format them before start.
UART
GND (pin 6) <—> Black line
TX (pin 8) <—> White line
RX (pin 10) <—> Green line