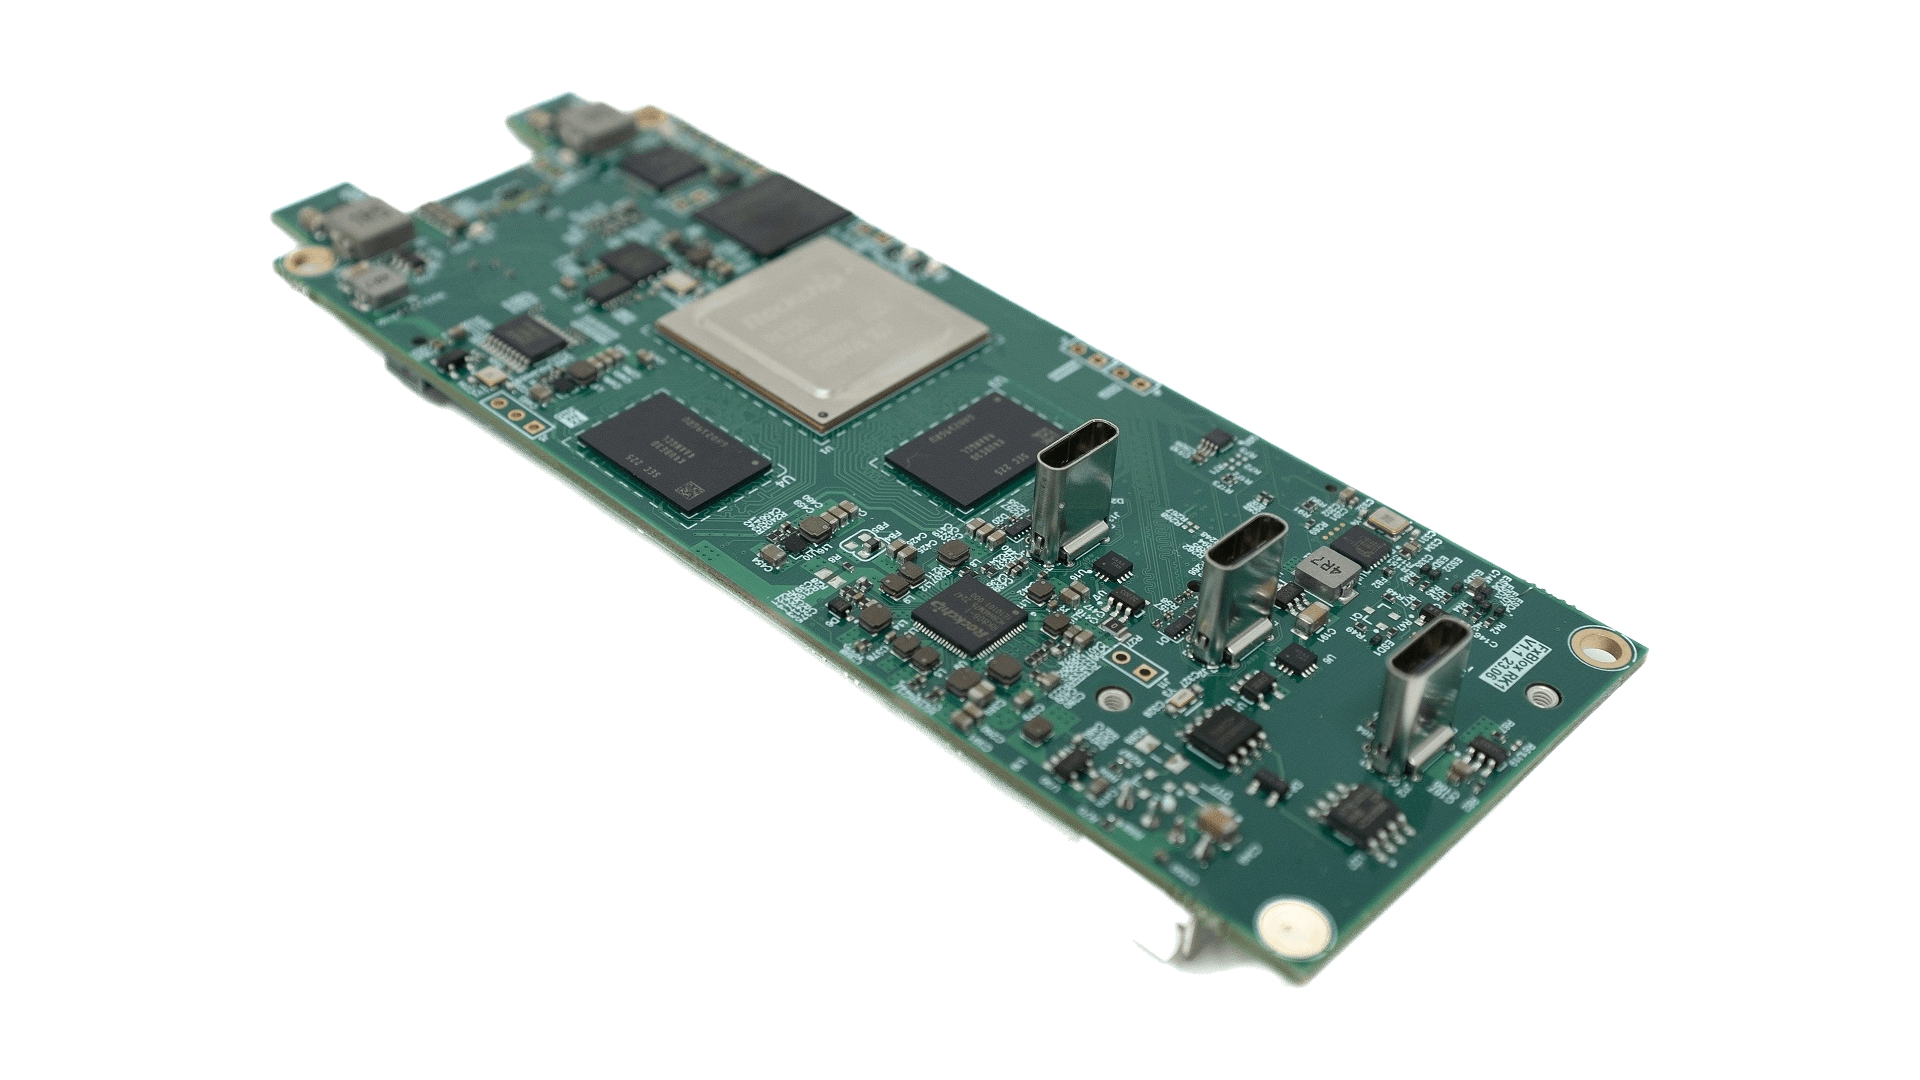
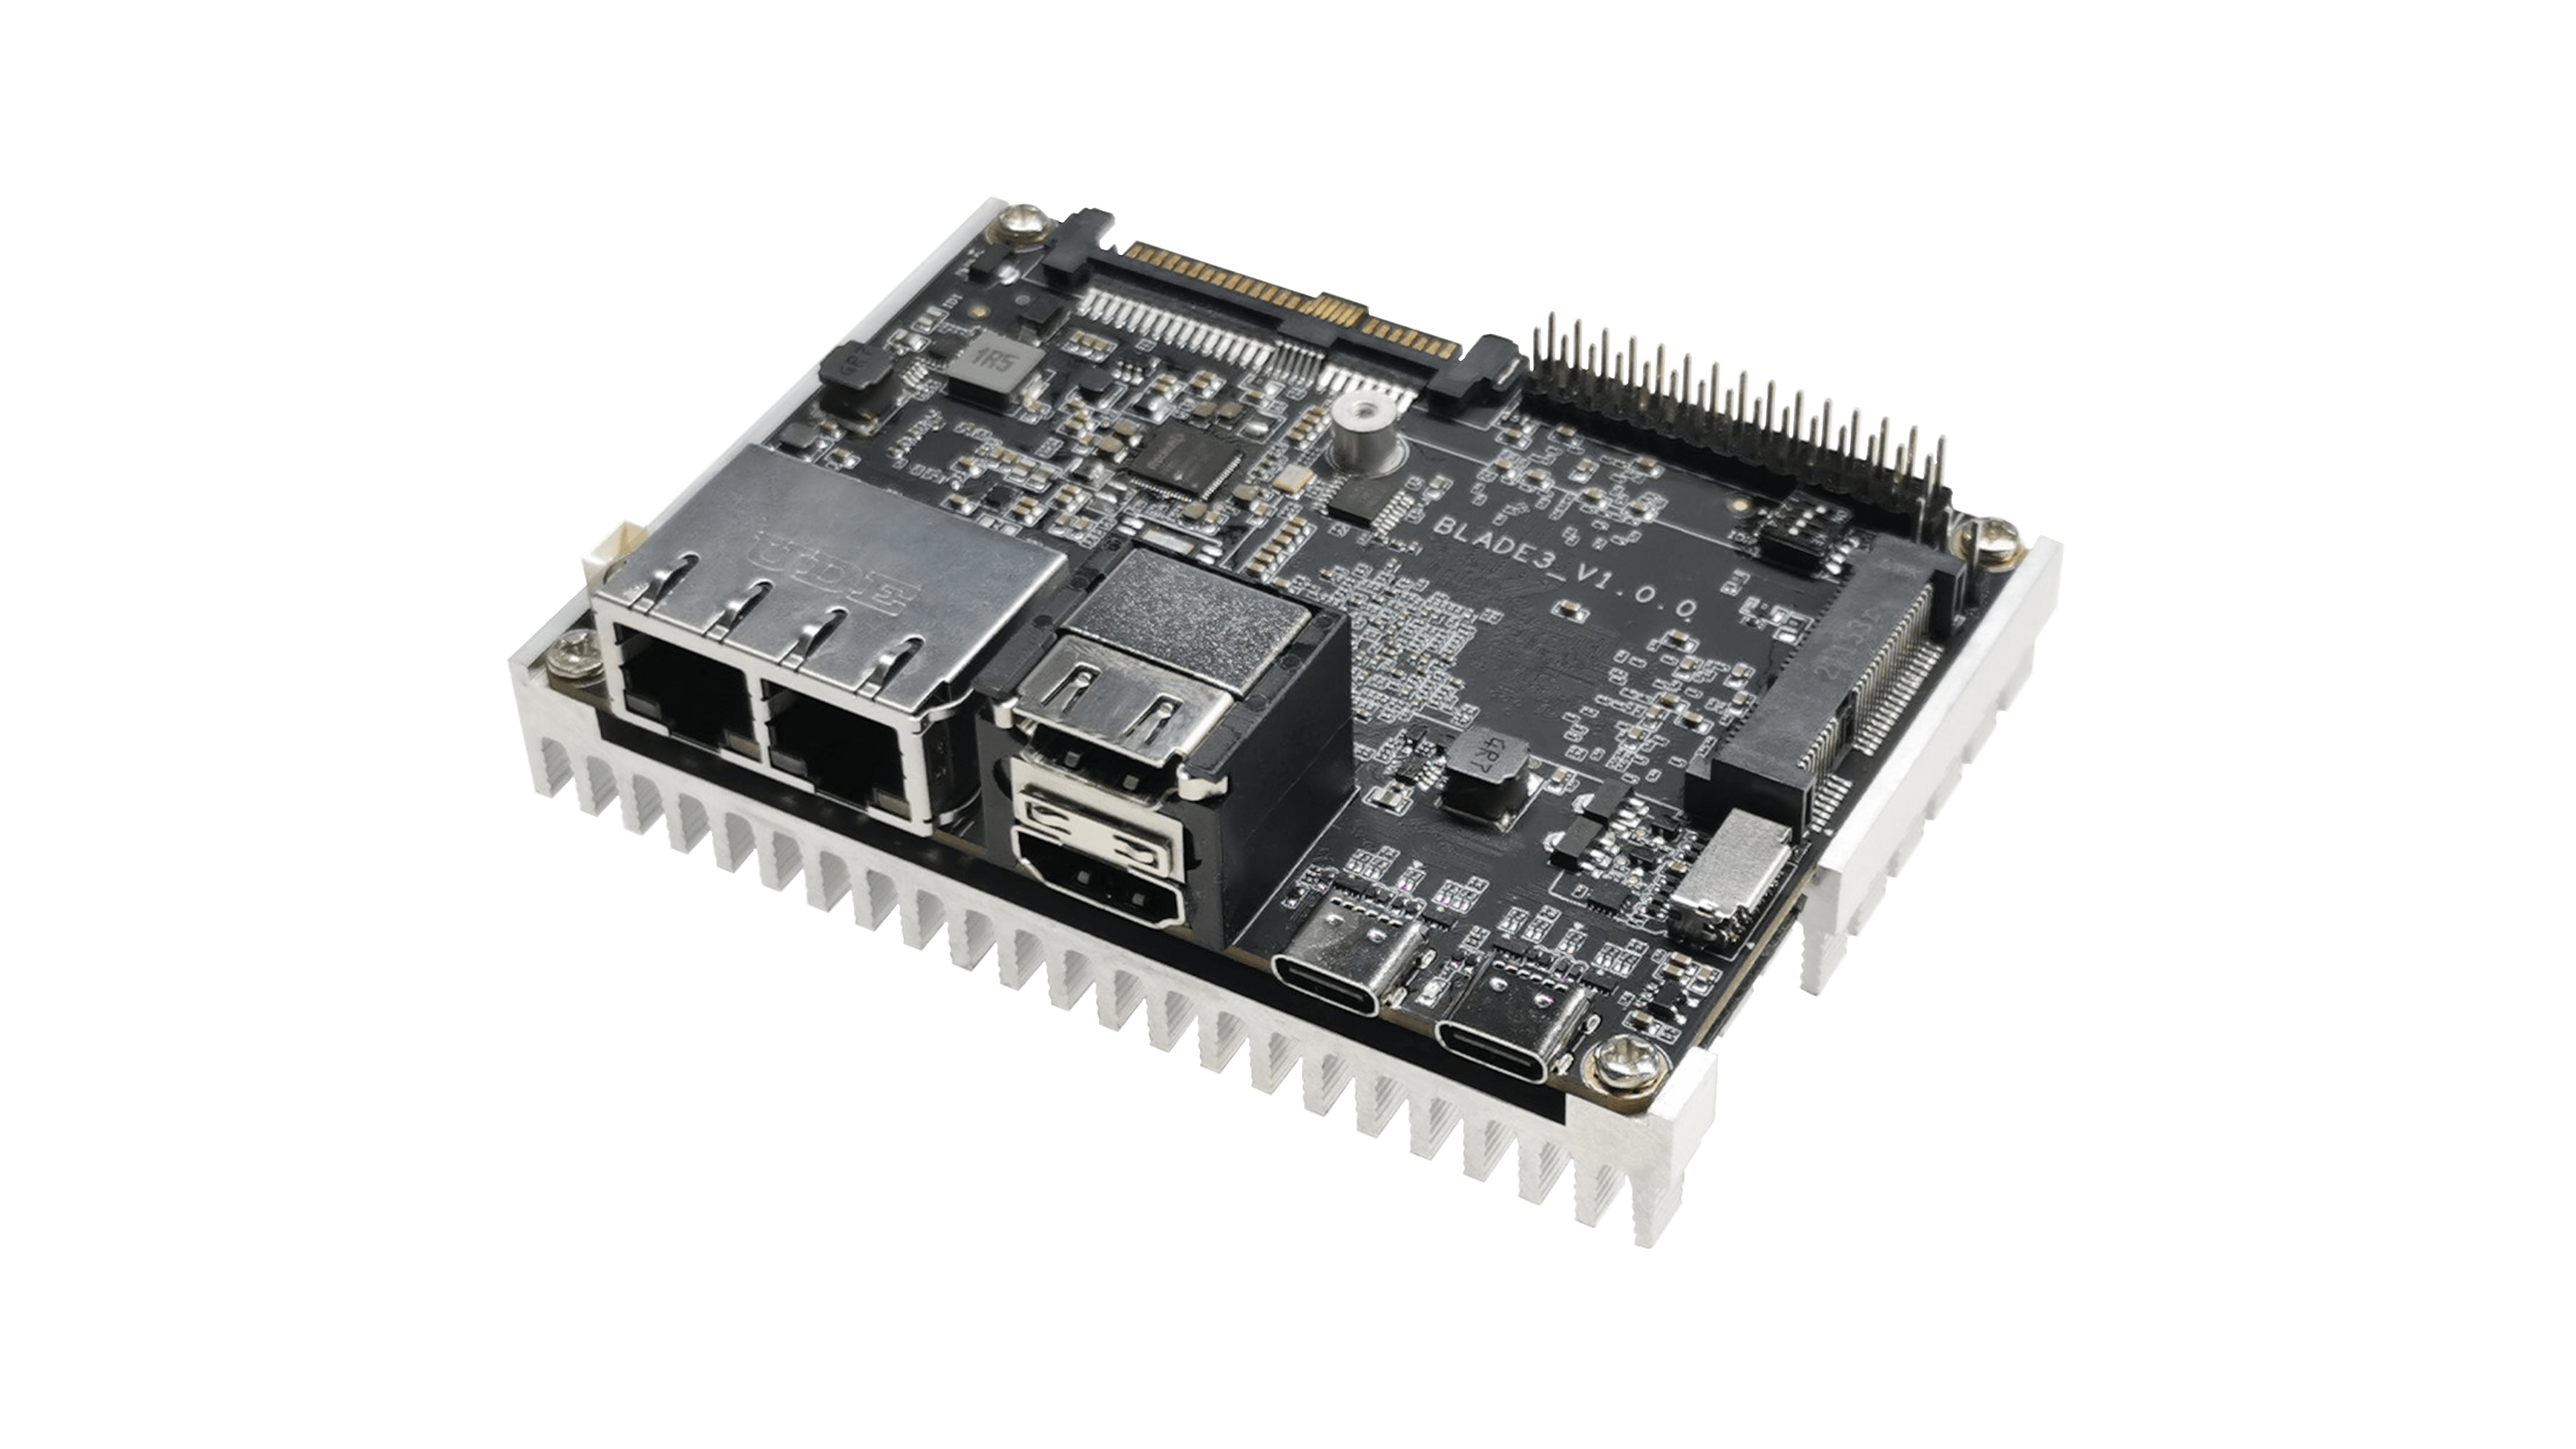

The 26 pin headers on Orange Pi Zero3 provides the following interfaces:-
- 3 I2C
- 2 UARTS
- 2 PWM
- 1 SPDIF
- 1 I2S
- and 1 SPI with 2 CS pins.

The pwm, spdif and i2s support is not there in kernel yet and hence overlays for them are not yet available. We have added overlays for i2c and uart. The spidev1_0 and spidev1_1 needs some editing and will be fixed in the future. When using the overlays, user should make sure they don’t enable overlay for features that use the same pin as this can cause conflict and either only one of the conflicting overlays or none of conflicting overlays will work. Its easy to fix it though as one can just disable it again from armbian-config.
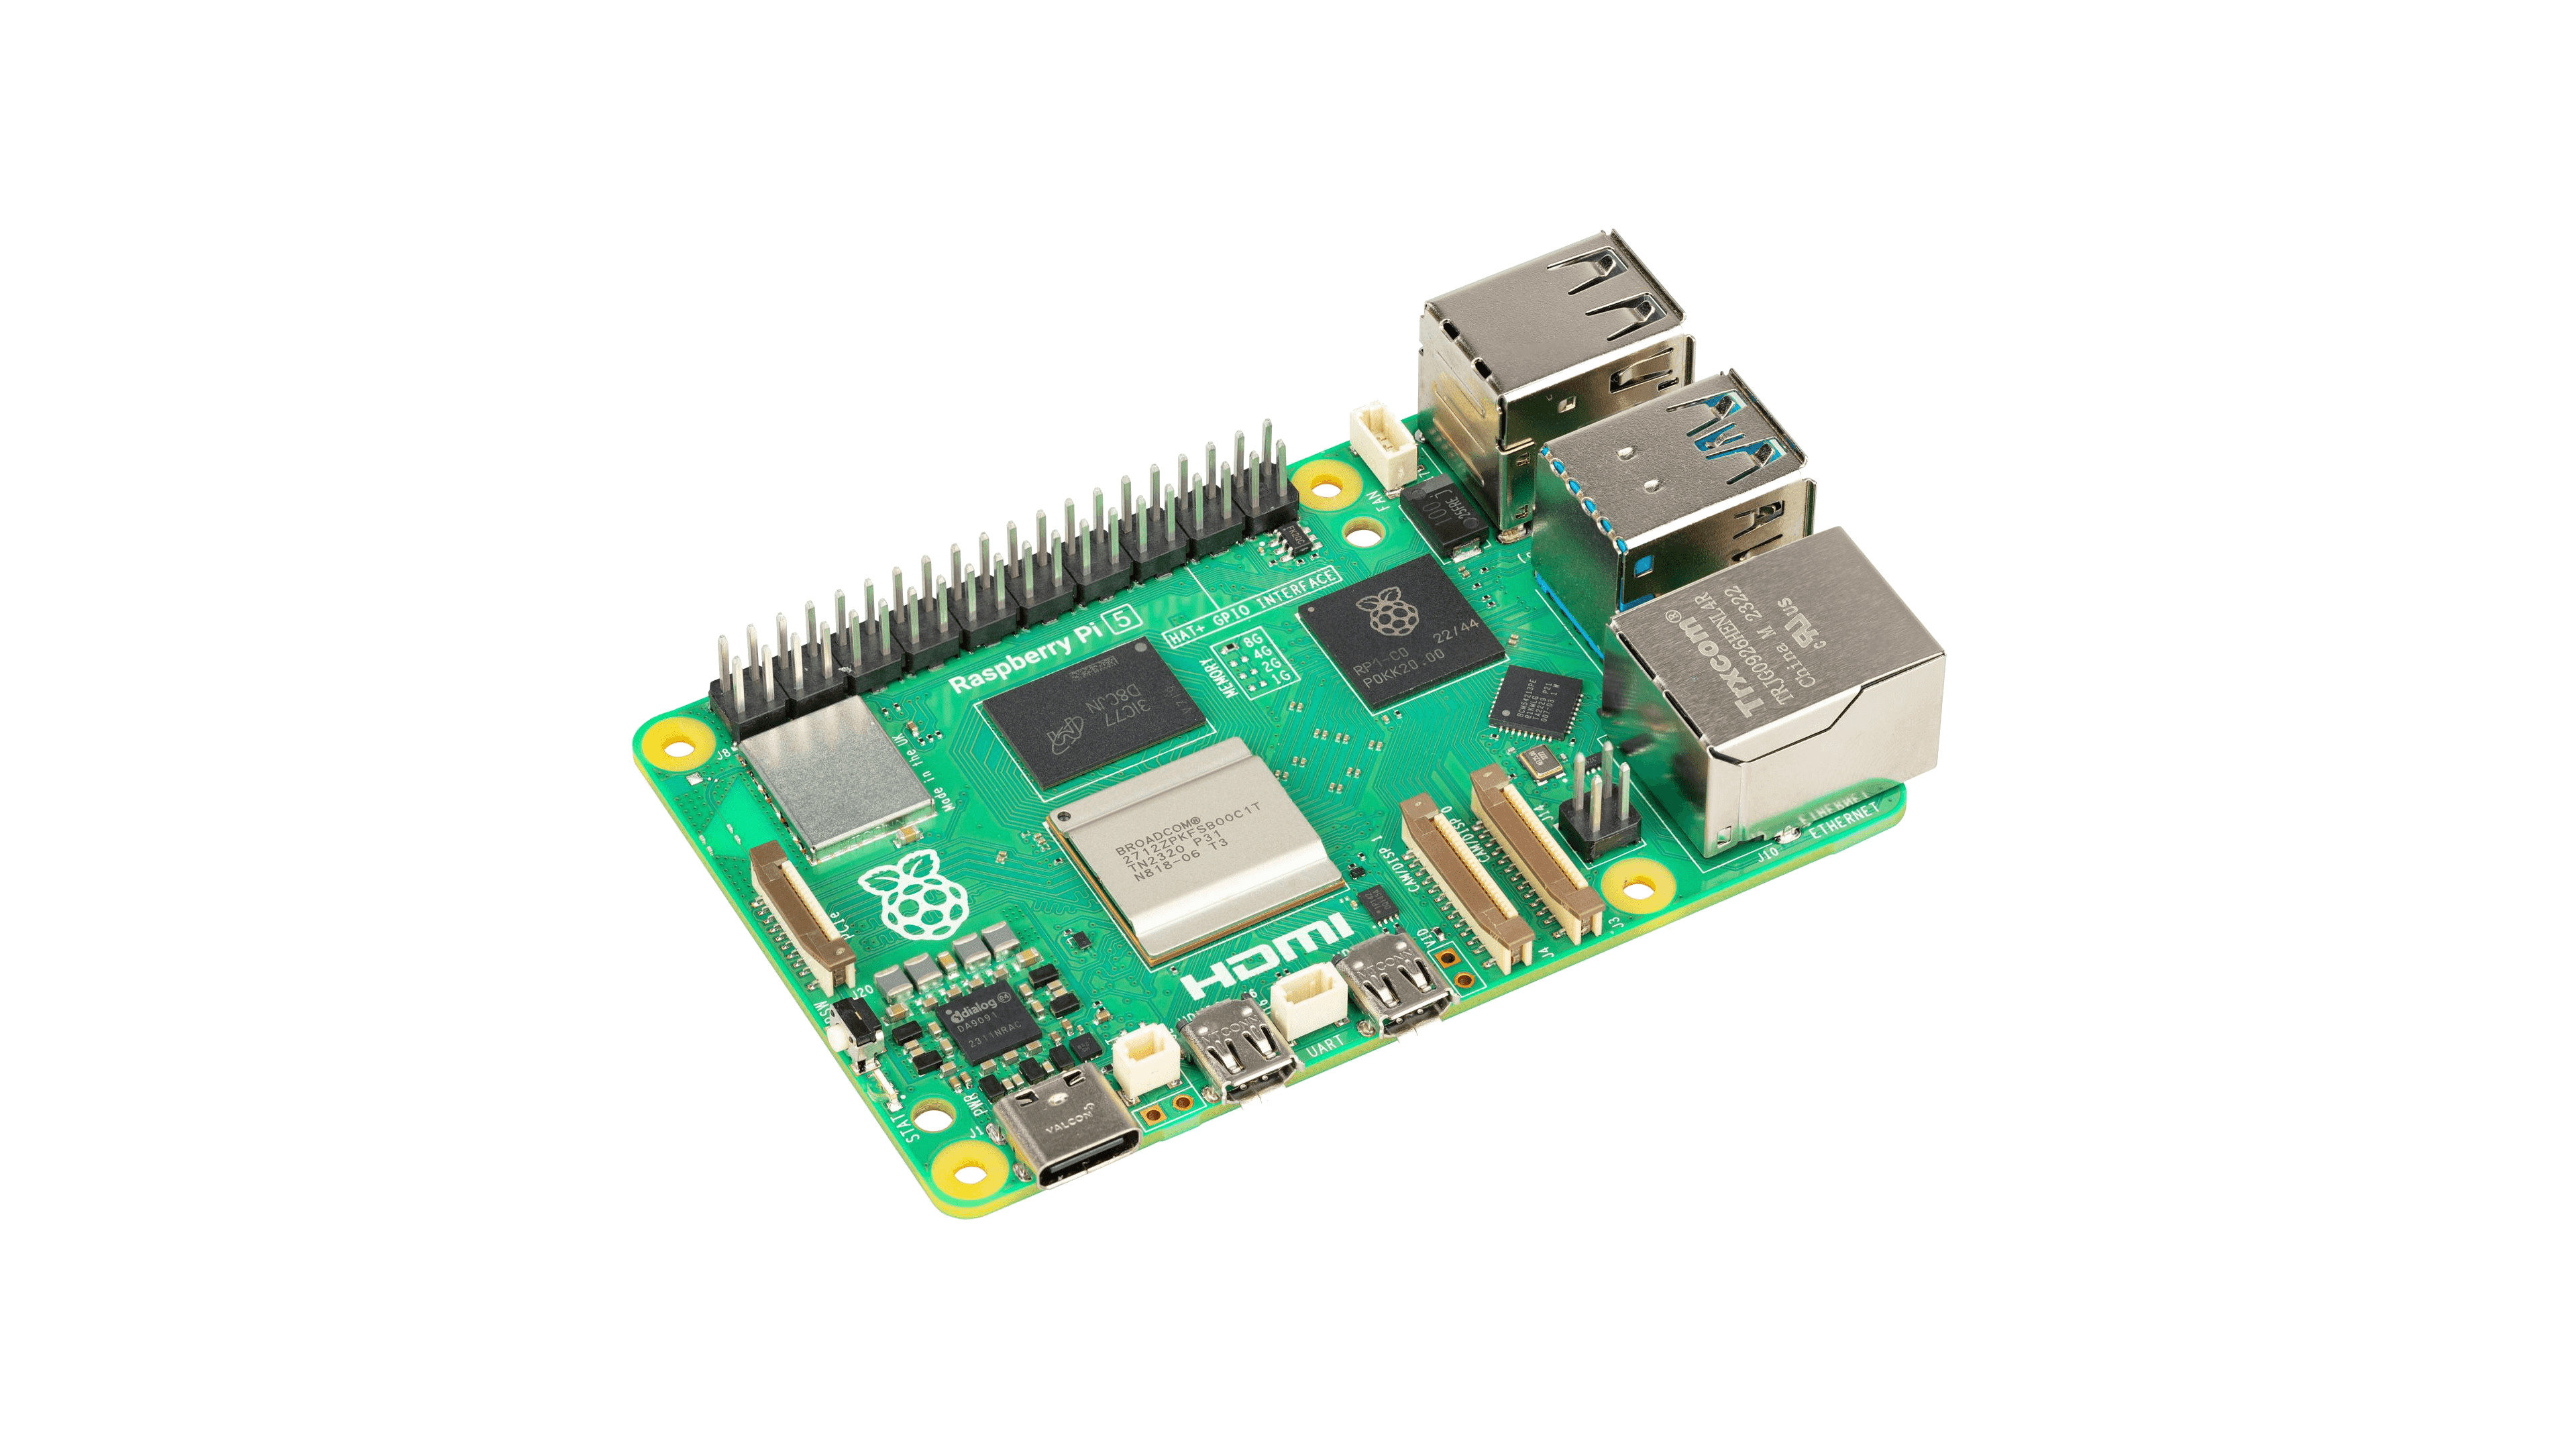
GPU acceleration only works with MESA v23.2. In order to get them to work (Bookworm):
- Add ‘deb https://deb.debian.org/debian unstable main’ to the sources.list
- sudo apt update && sudo apt -t unstable install libegl-mesa0 libgl1-mesa-dri mesa-utils mesa-utils-bin
- Remove the line added in sources.list, then sudo apt update
- Reboot the system.
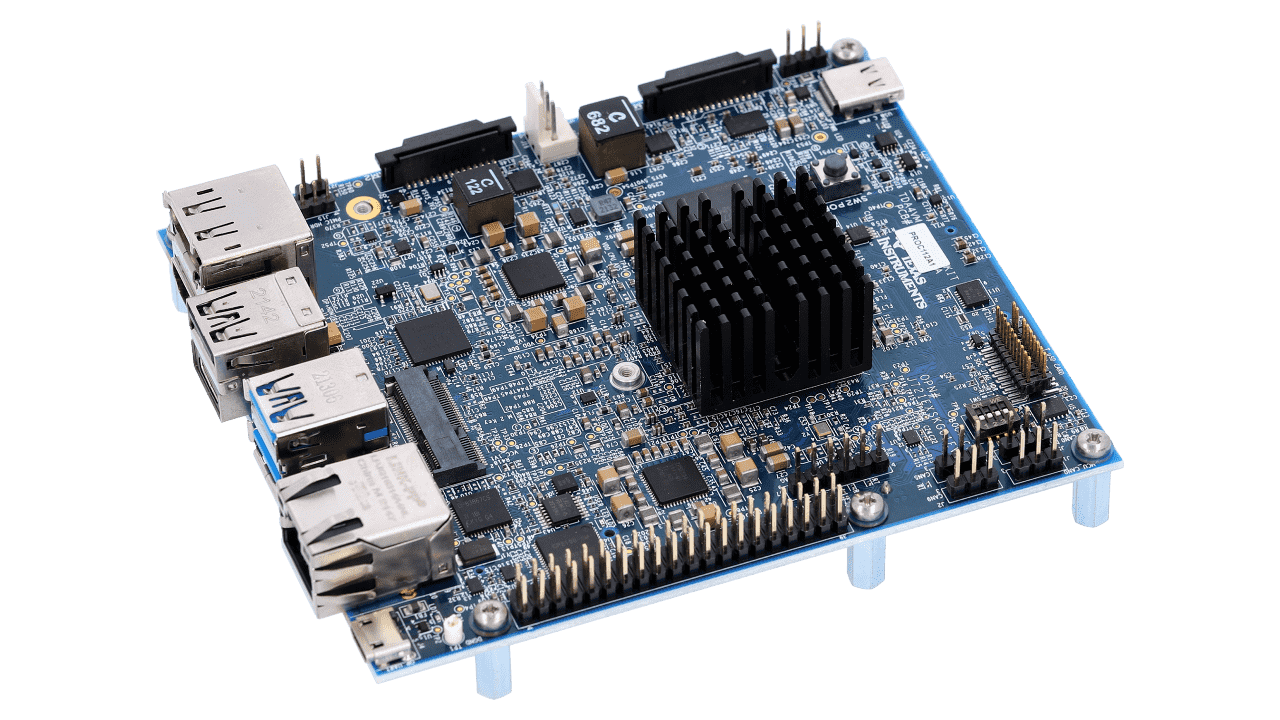
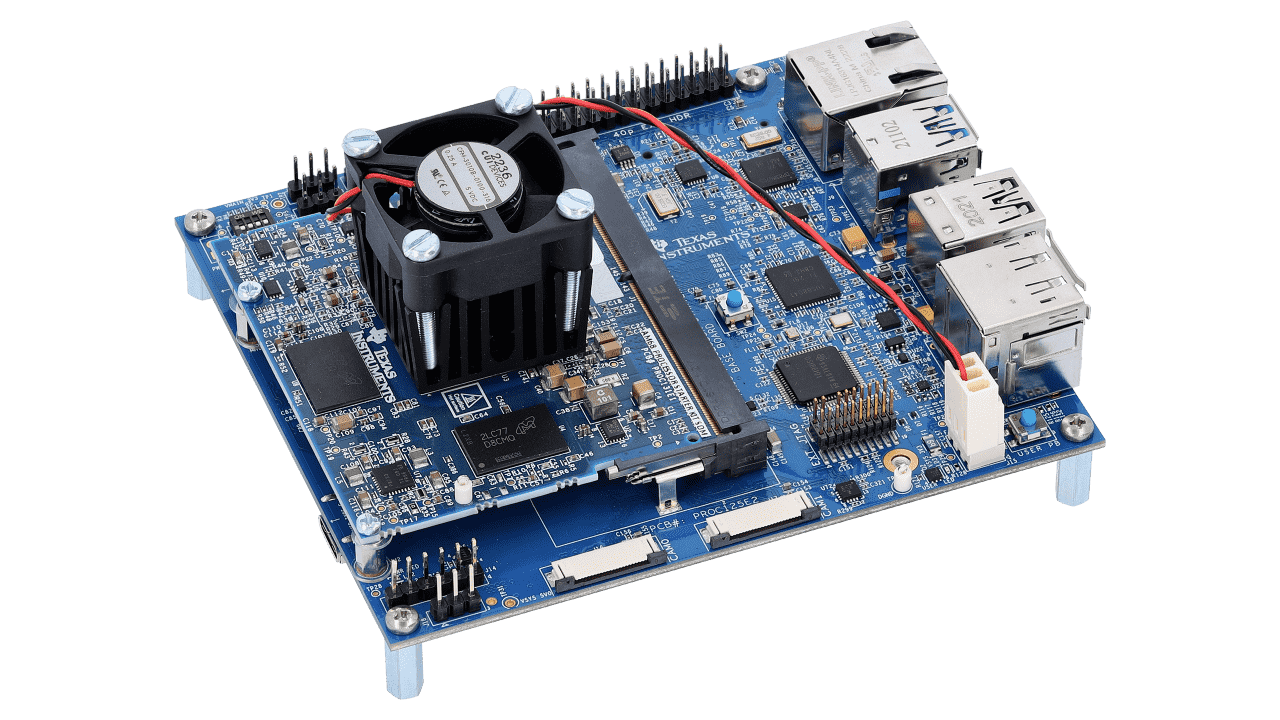
Bring smart cameras, robots and intelligent machines to life with the TDA4VM processor starter kit. With a fast setup process and an assortment of foundational demos and tutorials, you can start prototyping a vision-based application in less than an hour. The kit enables 8 trillion operations per second (TOPS) of deep learning performance and hardware-accelerated edge AI processing without any hand-tooling. You can unleash high-speed AI in your embedded application only using Linux and industry standard APIs (TensorFlow Lite, ONNX Runtime, TVM, GStreamer, Docker, ROS, OpenGL ES).
Features
- Performance—TDA4VM processor enables 8 TOPS deep learning performance and hardware-accelerated edge AI at low power
- Camera interfaces—two CSI-2 ports compatible with Raspberry Pi and a high-speed 40-pin Semtec camera connector connecting up to eight cameras (requires TIDA-01413 sensor fusion add-on card)
- Connectivity—three USB 3.0 Type A ports, one USB 3.0 Type C ports, one ethernet port, one M.2 Key E connector and one M.2 Key M connector, four CAN-FD interfaces, four UART terminals over one USB bridge
- Memory—DRAM, LPDDR4‐4266, 4 gigabytes total memory, support for inline ECC
- Display—DisplayPort with up to 4K resolution with MST support and 1080 HDMI
Support dropped due to security reasons:
- https://www.theregister.com/2024/08/07/riscv_business_thead_c910_vulnerable/
- https://ghostwriteattack.com/
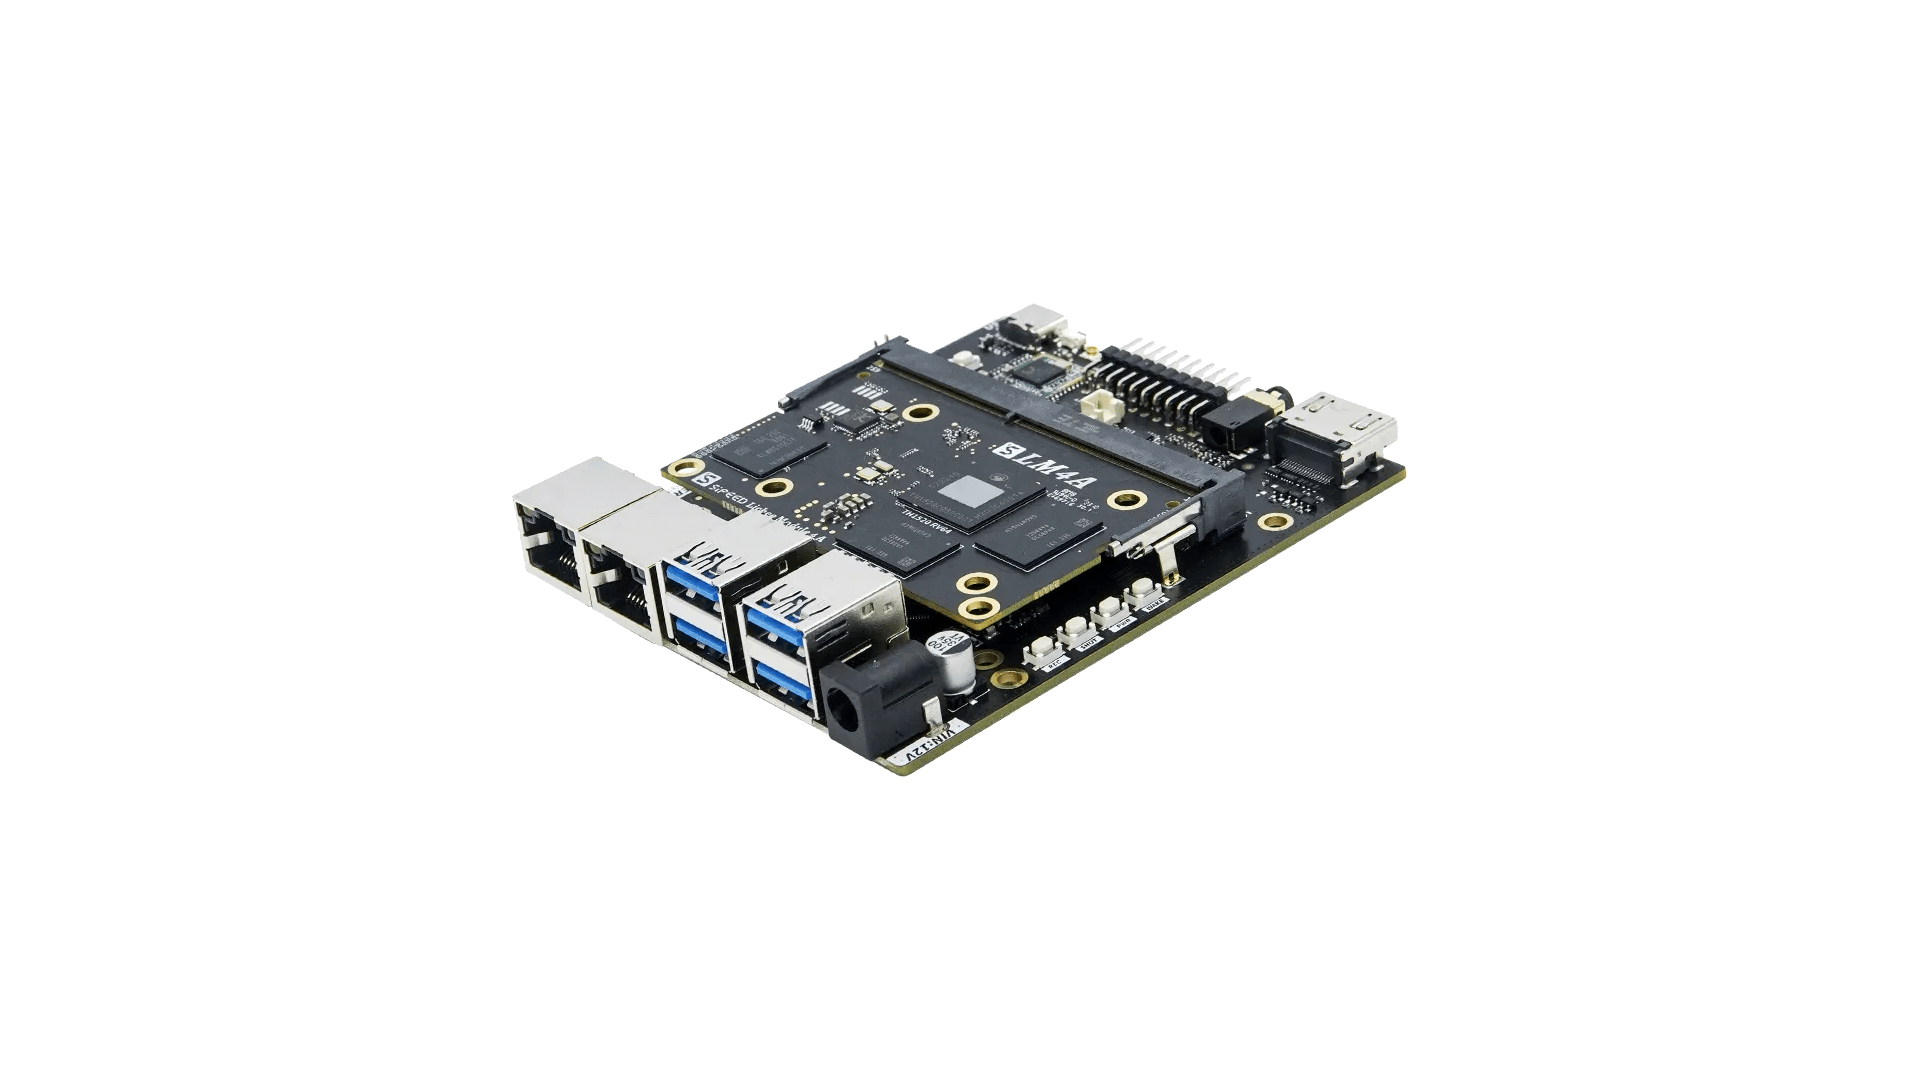
1. Download u-boot files for Armbian
Download the u-boot file for the corresponding memory version of LicheePi 4A from the Action or Releases section of chainsx/thead-u-boot.
2. Flash u-boot to EMMC (required)
If there is a DIP switch, set it to EMMC mode. Press the BOOT button on the board and connect lpi4a to the computer using a data cable. Then perform the following operations:
sudo fastboot flash ram ./firmware/u-boot-with-spl.bin
sudo fastboot reboot
sleep 10
sudo fastboot flash uboot ./firmware/u-boot-with-spl.bin
For installation of drivers, refer to the Sipeed official Wiki.
3. Flash the system
Option 1: Flash the system to an SD card
You can use Etcher or other software.
Option 2: Flash the system to EMMC
(1) Use the UMS (USB Mass Storage) feature of u-boot (experimental):
Interrupt the u-boot countdown by pressing `Ctrl^C` when counting down using the serial port to enter the u-boot command line, then enter the following command:
ums 0 mmc 0The EMMC will be mapped as a USB Mass Storage device on the computer, and you can use Etcher or other software to flash it.
(2) After booting from the SD card, use the dd command to copy the Armbian image to the EMMC.
4. Support status
It is recommended to use the legacy version based on T-Head SDK.
5. For 16GB version
First, you need to flash 16GB u-boot.
Second, you need to change “th1520-lichee-pi-4a.dts” to “th1520-lichee-pi-4a-16gb.dts” in /boot/extlinux/extlinux.conf.
Make sure to check flashing guide!