


- Login console is enabled also on mUSB connector
- Known problem: reboot sometimes doesn’t bring the device back.
- Network devices are not managed by Network manager. Configure via /etc/network/interfaces

- If your RockPi-S is equipped a large enough SDNAND, you may flash an OS image directly to this internal flash as follows:
- Build Linux x86 binary rkdeveloptool (sources) on host
- Remove any SDcard
- Plug the USB-C port into your computer
- Hold down MASKROM button while you…
- Power on or press the RESET button to enter flash mode
- Release the MASKROM button after 2 seconds
Next, run these host commands to flash the internal SDnand:-
- sudo rkdeveloptool db rk3308_loader_uart0_m0_emmc_port_support_sd_20190717.bin
- #await output: Downloading bootloader succeeded.
- sudo rkdeveloptool wl 0 /path/to/uncompressed_armbian_image
- #await output: Write LBA from file (100%)
- sudo rkdeveloptool rd
- #outputs: Reset Device OK.
(check official step by step instructions)
-
- Holding the MASKROM button during reset prevents booting from internal the SDNAND.
- But, the board will always boot from the SD Card, if it finds a valid image there.
- Kernel serial console is on UART0. [some older images have their console on UART2]
- The serial console operates at 1.5Mbaud with 8 data, 1 stop, and no parity bits.
- Black(left)=GND, White(center)=TxD, Green(right)=RxD
If you have a board with the -B version of the SOC, you may add the following line to your /boot/armbianEnv.txt file to allow operation at 1.3ghz:
overlays=b@1.3ghz
If you have a board with the BS version of the SOC, you should add the following line to your /boot/armbianEnv.txt file to tune for the newer “BS” silicon and run at 1.3ghz:
overlays=bs bs@1.3ghz
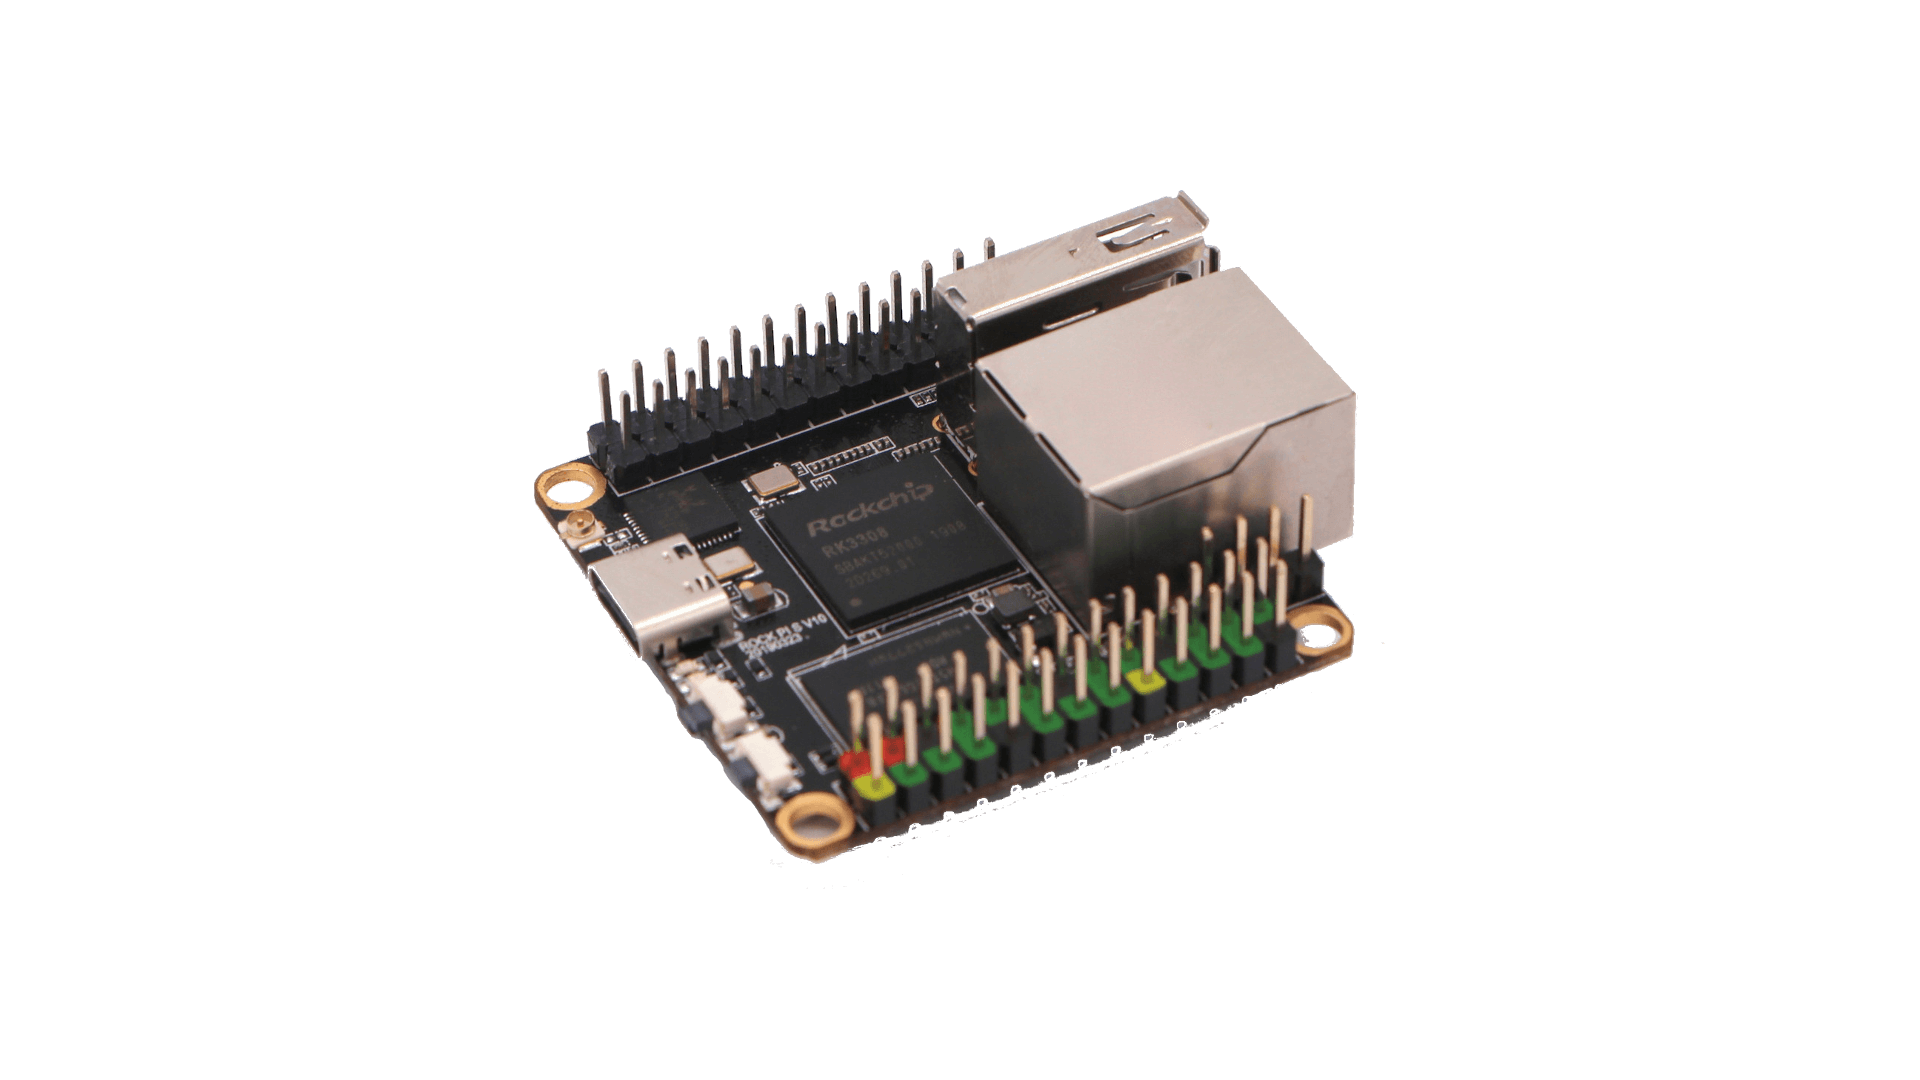
Note that the B version SOC is more common. I have never seen one. The BS version supposedly will be labeled RK3308B-S.
Refer to /boot/dtb/rockchip/overlay/README.rockchip-overlays for more information.

- Version 7 EspressoBIN (identifiable by sata power connection instead of molex) has ethernet ports in the reverse order. This can be fixed in armbianEnv.txt with the line “fdtfile=marvell/armada-3720-espressobin-v7.dtb”
- manual flashing to latest u-boot is mandatory, again (as part of 2022.05 release)! Download the right boot flash for your board: 512,1G,2G, number of RAM chips (identify by visual inspection – one on each side of the PCB opposite to each other. Later 1GB models have only one chip at the bottom) and appropriate memory speeds. You can obtain numbers from the current boot prompt. Also choose right memory: ddr3 are for V3-V5 EspressoBin’s (i.e. V5, 1g-2cs) and ddr4 images are for v7 EspressoBin’s. Insert ‘ddr3’ or ‘ddr4’ into the bubt command string. Copy this
flash-image-{ddr3,ddr4}-MEM-RAM_CHIPS-CPU_DDR.bin
to your formatted USB key, plug it into USB3.0 port and execute from u-boot prompt:
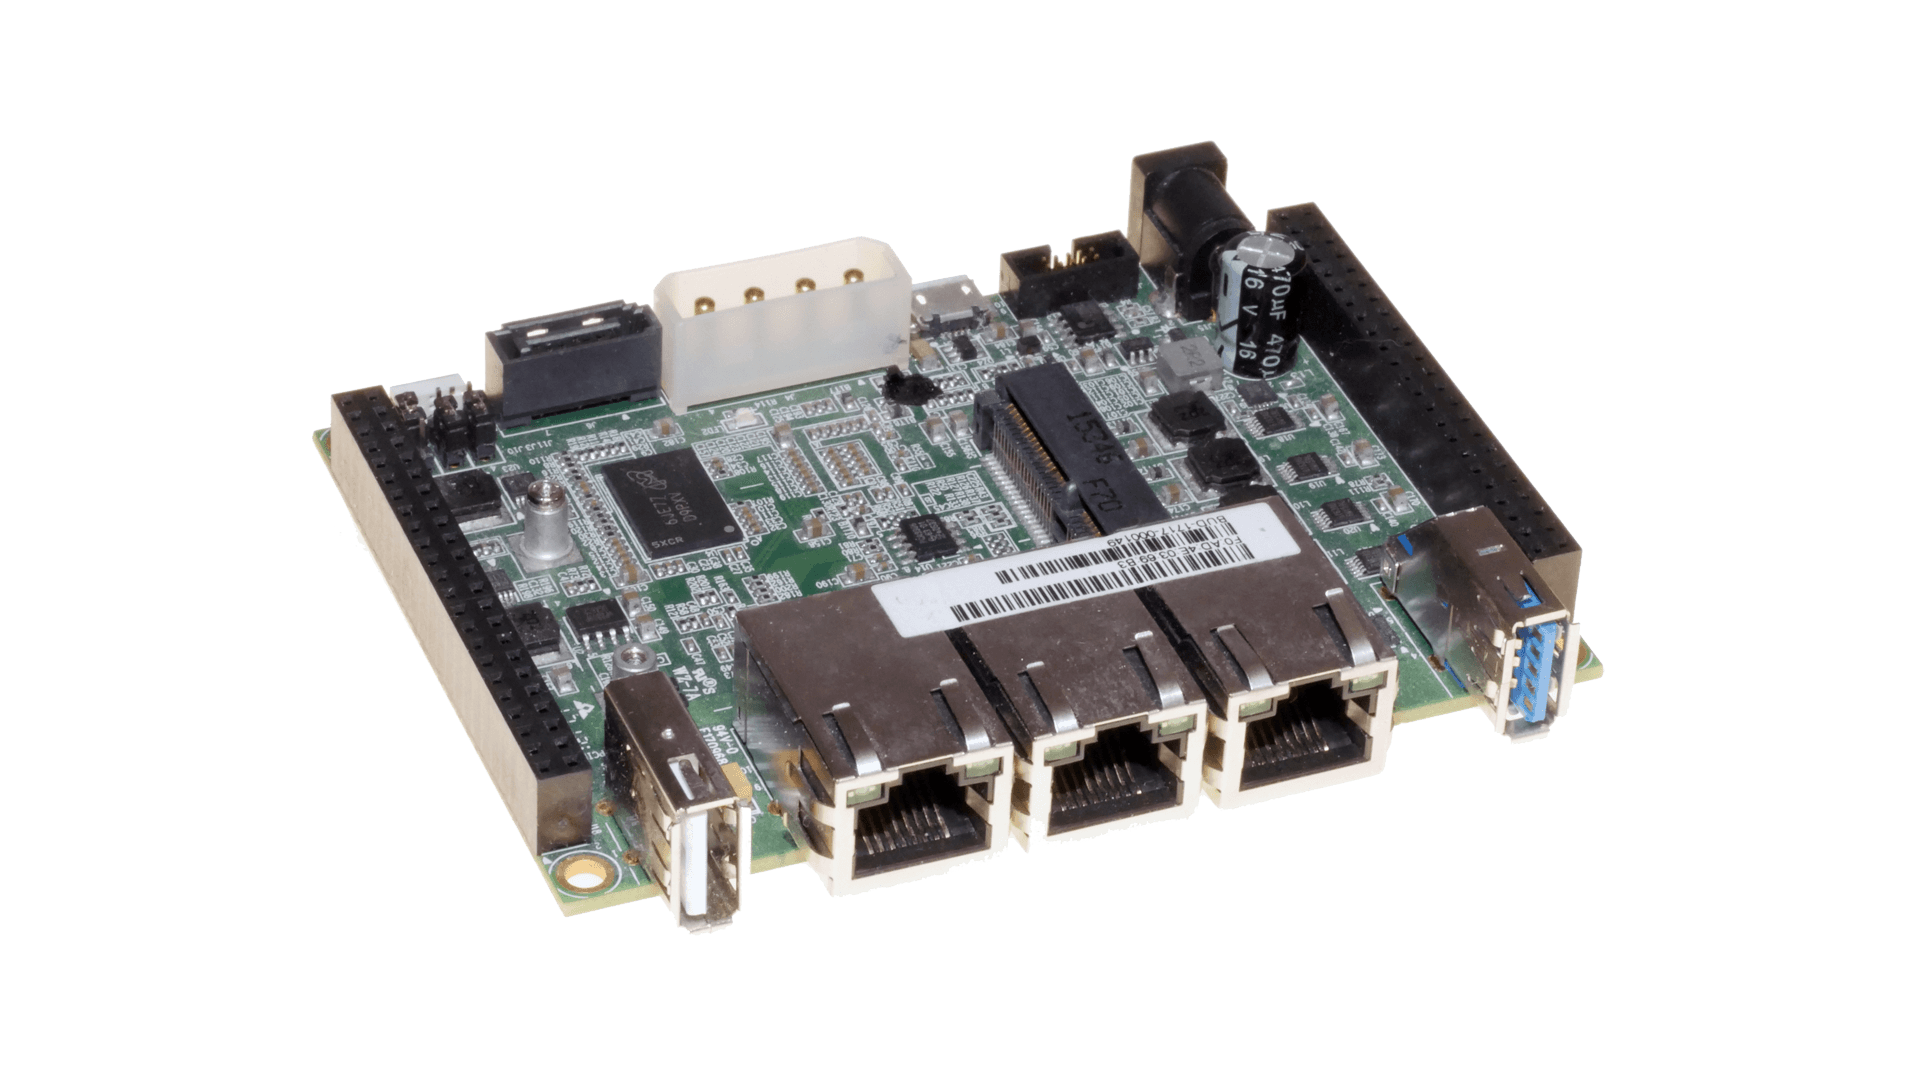
bubt flash-image-ddr3/ddr4-MEM-RAM_CHIPS-CPU_DDR.bin spi usb
In case you experience instability reflash boot loader with lower CPU speed values! SoC speed can be found printed on the armada chip, under the heat sink. No 1200 chips have been reported, 800 is a safe option, 1000 is a likely option. It can also be found as part of the current u-boot output.
- Updated u-boot (2022.04) needs new default boot environment and boot script. U-boot now respects ethaddr and eth[0,1,2]addr variables. This is what you need to copy/paste into u-boot prompt:
printenv ethaddr env default -a saveenv # Including this line to make sure saveenv is executed.
- If ethaddr was previously changed, it can be set with “setenv ethaddr f0:ad:4e:08:00:00”, then “saveenv”
- If you manage to crash your SPI flash, get appropriate files and proceed with one of the rescue options: SATA, UART,
- if you need USB2 port on your mPCI slot (for Bluetooth or 4G/LTE modems) you need to move both jumpers near to the USB2 port. Position for this function is: away from the port.


To boot the image from USB flash:
- Write the image to a USB flash drive
- Insert the flash drive into the USB3.0 port
- Load the modified u-boot (from the Armbian image) using the UART method
- Stop the default boot sequence
- Execute in u-boot prompt:
run usbboot
To flash the image to eMMC:
- Boot the image from USB flash
- Write the image to eMMC using
dd
or other methods - Mount the eMMC partition and add a line
emmc_fix=on
to/boot/armbianEnv.txt
file – this changes the DT during boot to switch from SD with card detect switch to a non-removable eMMC. - Unmount the eMMC partition and reboot
Please refer to this forum thread for the USB boot details and this thread for a discussion of known eMMC issues.

Notes:
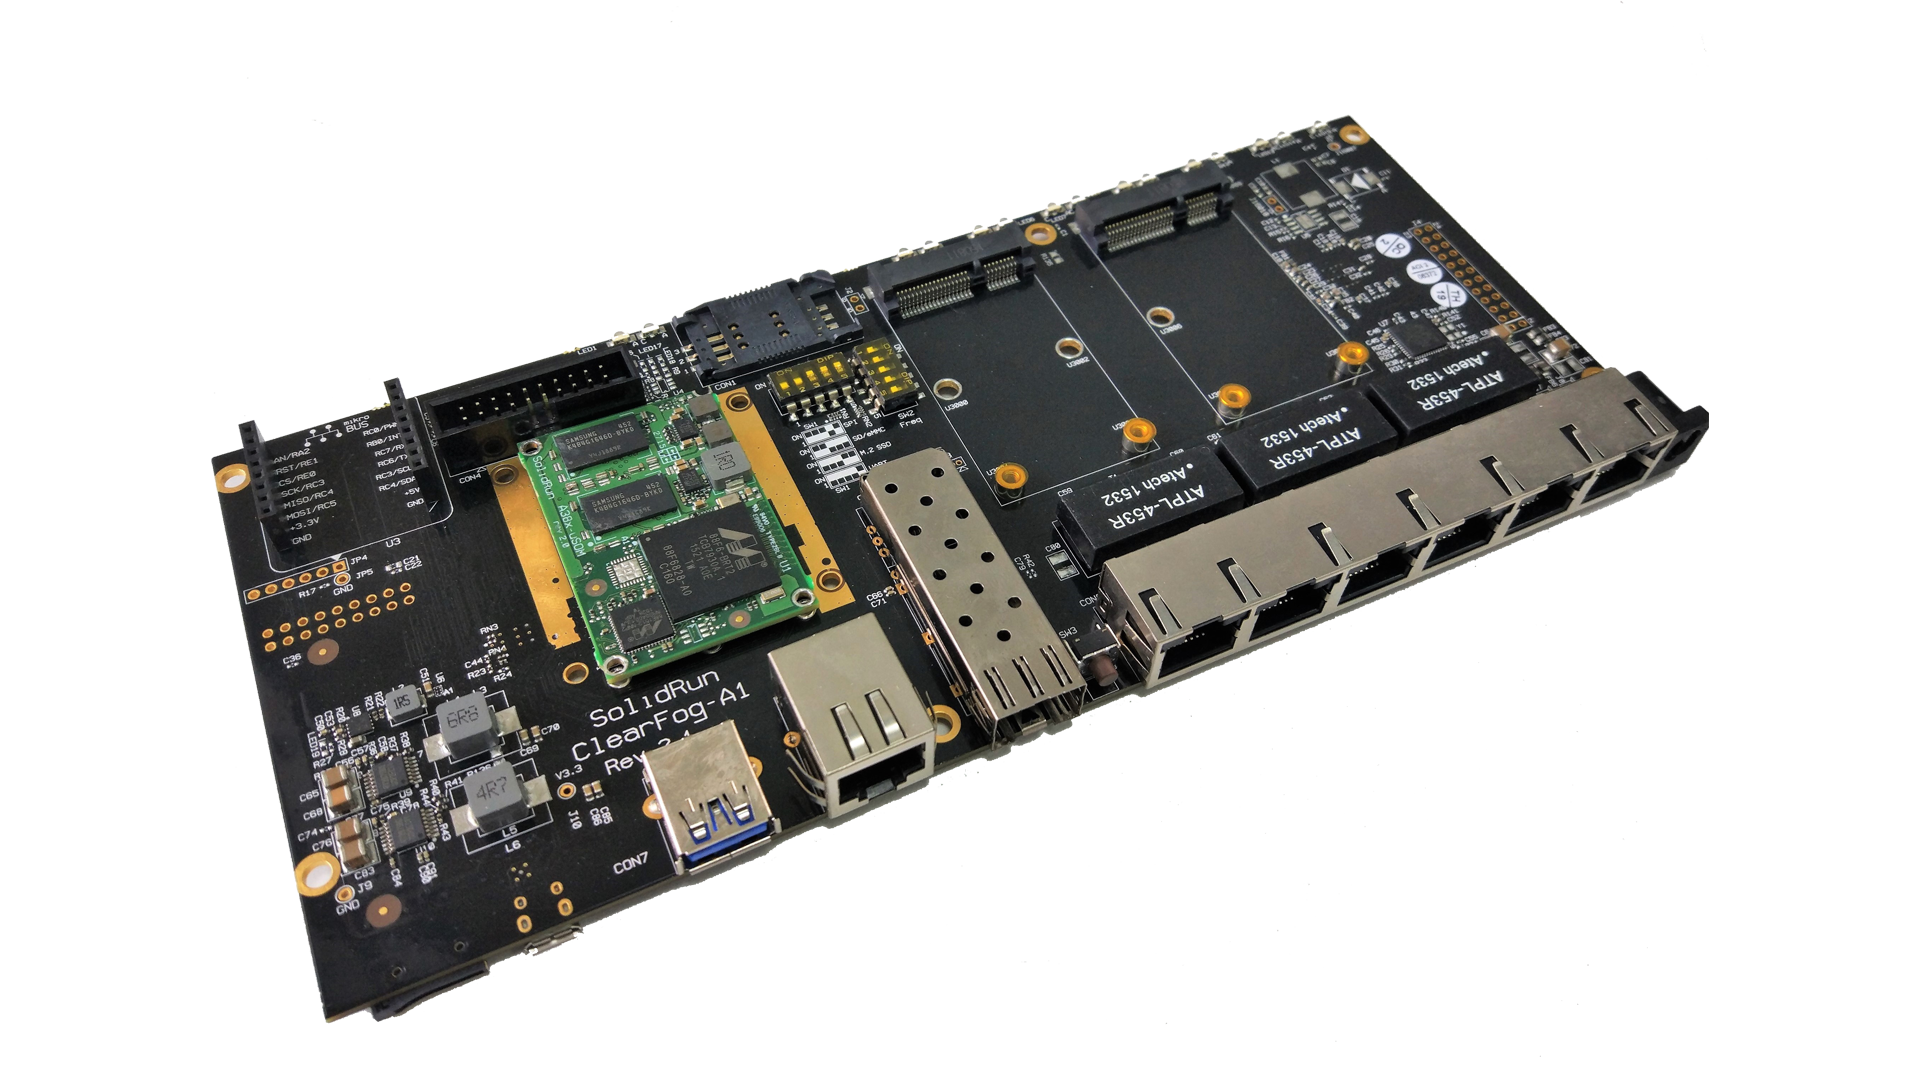
There are some minor problems with specific mPCIe combinations. If you run into problems check this test matrix for some known working/not working combinations.
For more info please check docs.armbian.com
To boot the image from USB flash:
- Write the image to a USB flash drive
- Insert the flash drive into the USB3.0 port
- Load the modified u-boot (from the Armbian image) using the UART method
- Stop the default boot sequence
- Execute in u-boot prompt:
run usbboot
To flash the image to eMMC:
- Boot the image from USB flash
- Write the image to eMMC using
dd
or other methods - Mount the eMMC partition and add a line
emmc_fix=on
to/boot/armbianEnv.txt
file – this changes the DT during boot to switch from SD with card detect switch to a non-removable eMMC. - Unmount the eMMC partition and reboot
Please refer to this forum thread for the USB boot details and this thread for a discussion of known eMMC issues.